|
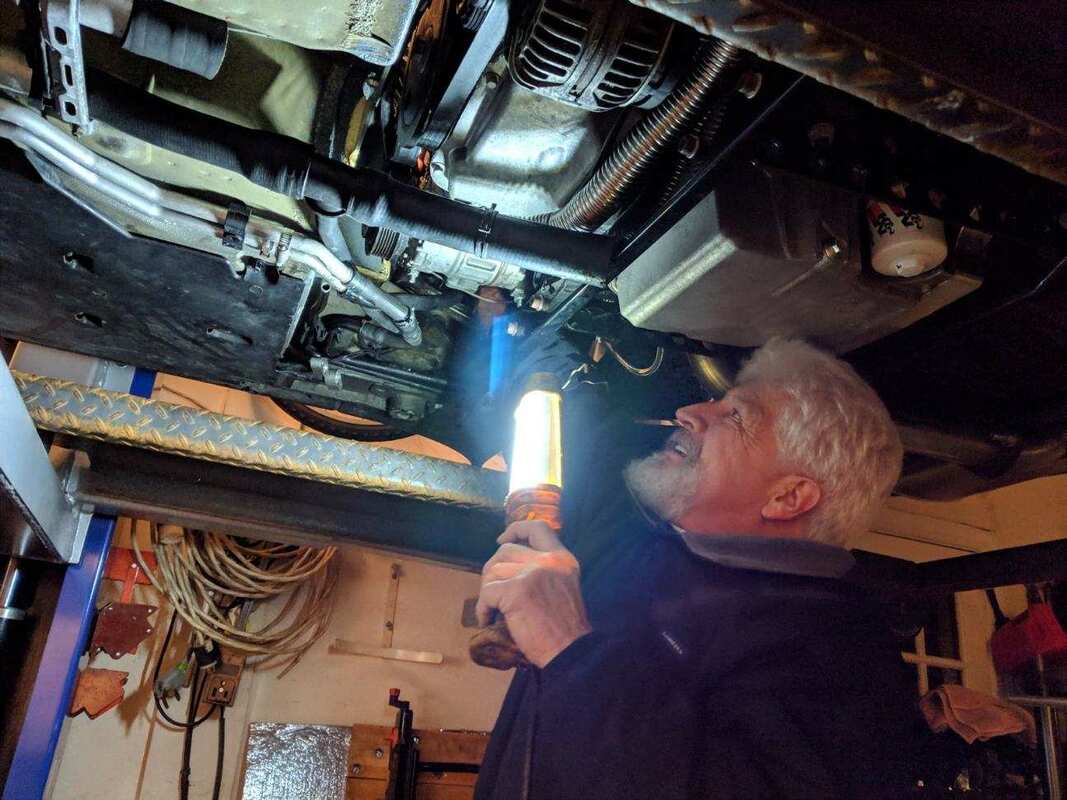
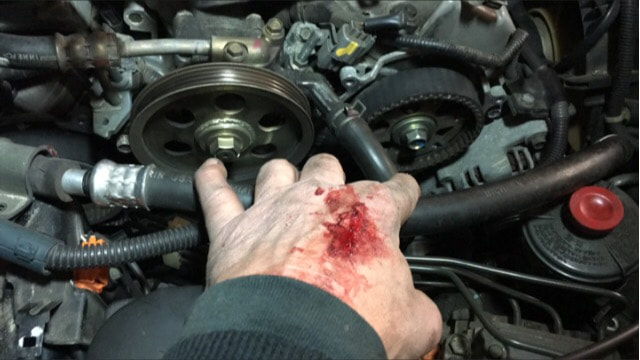
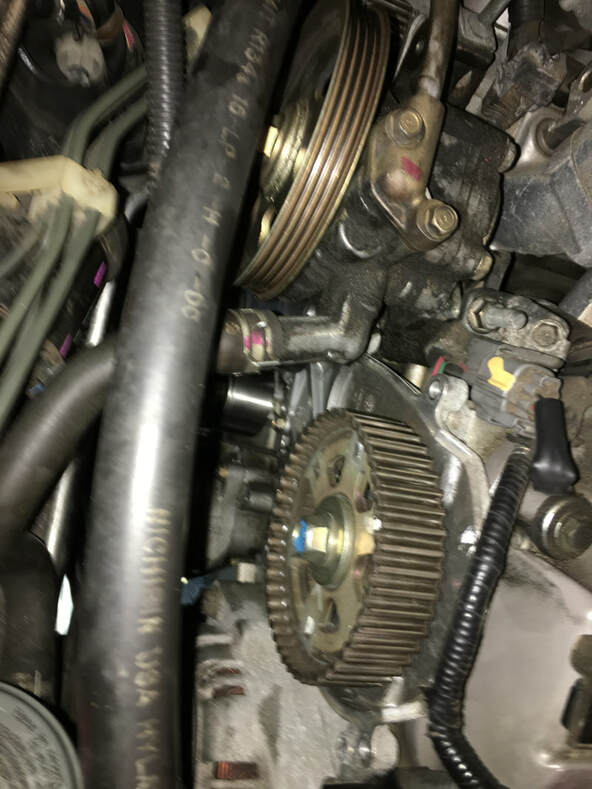
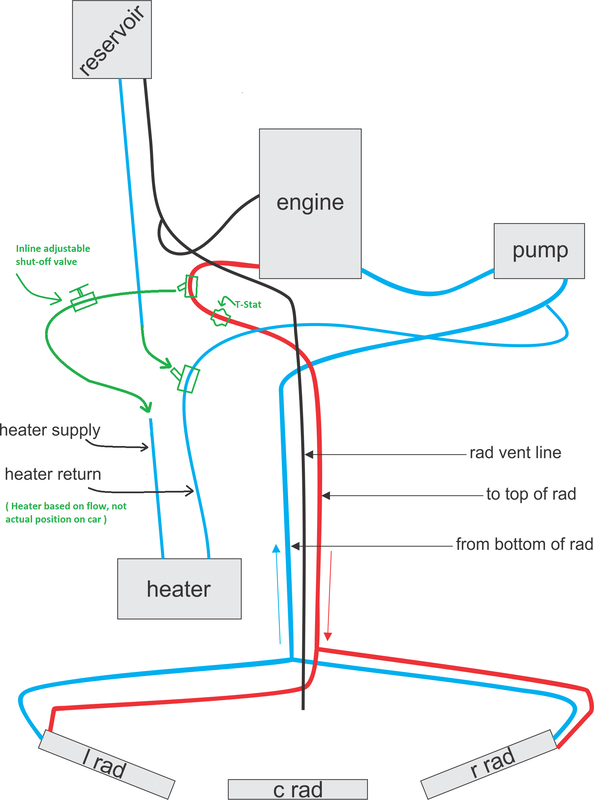
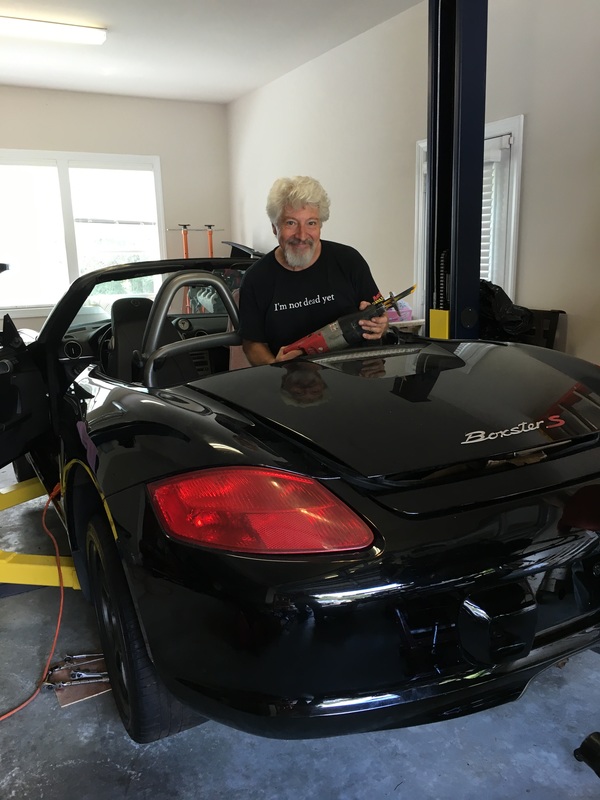
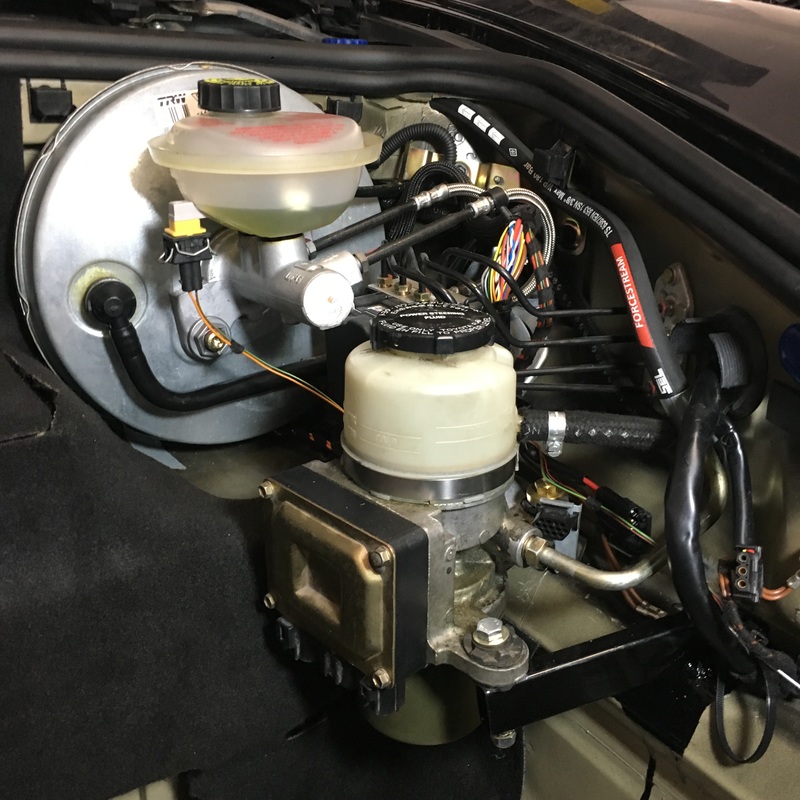
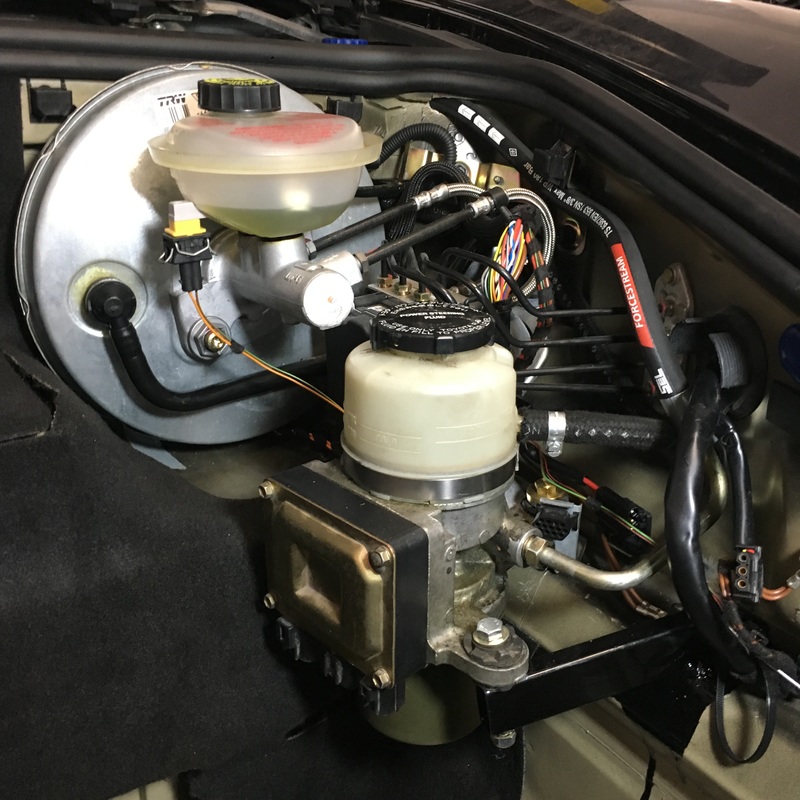
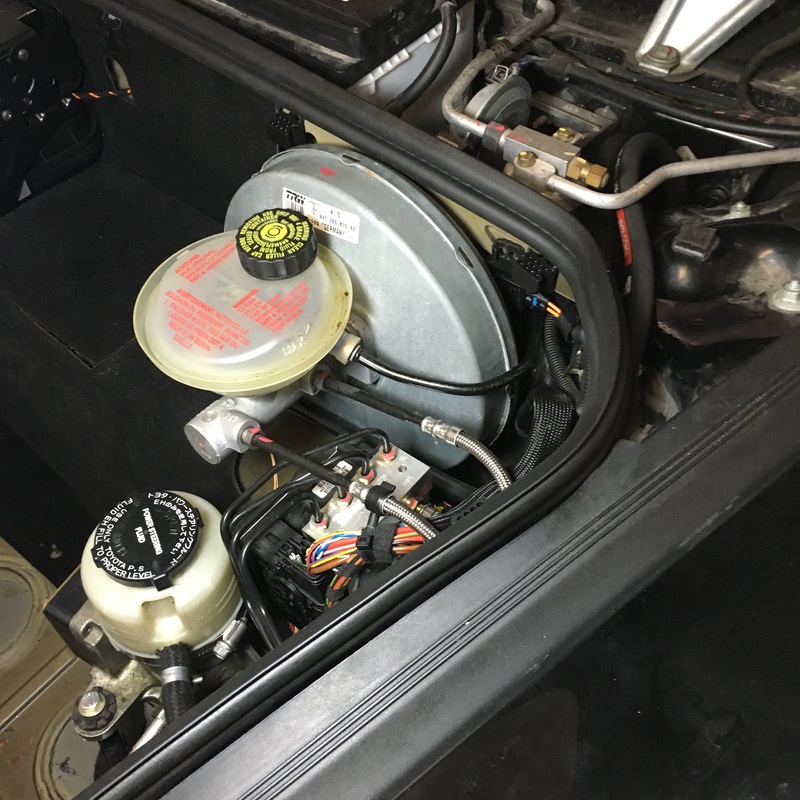
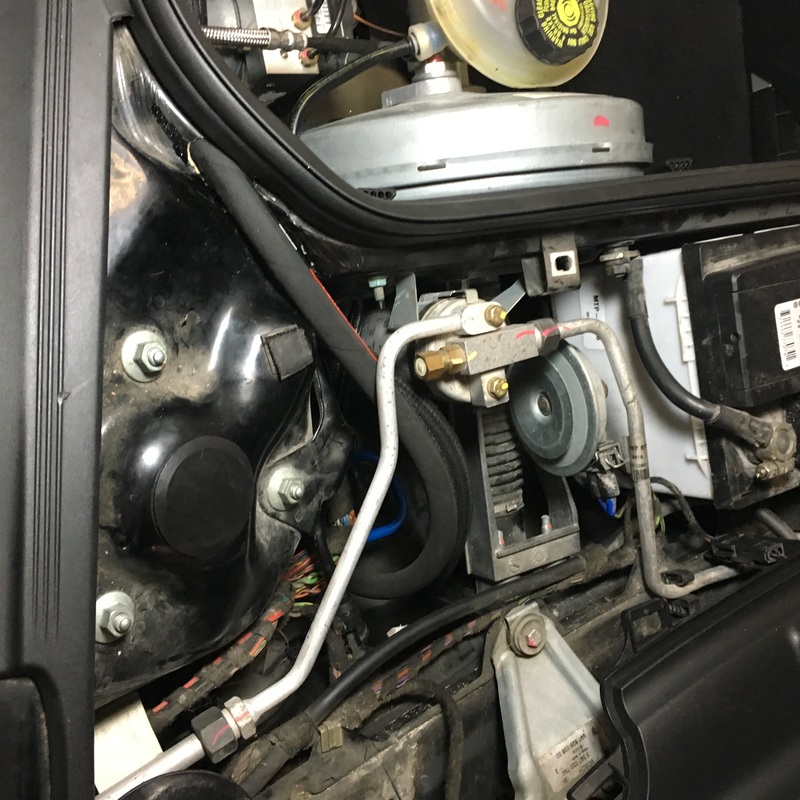
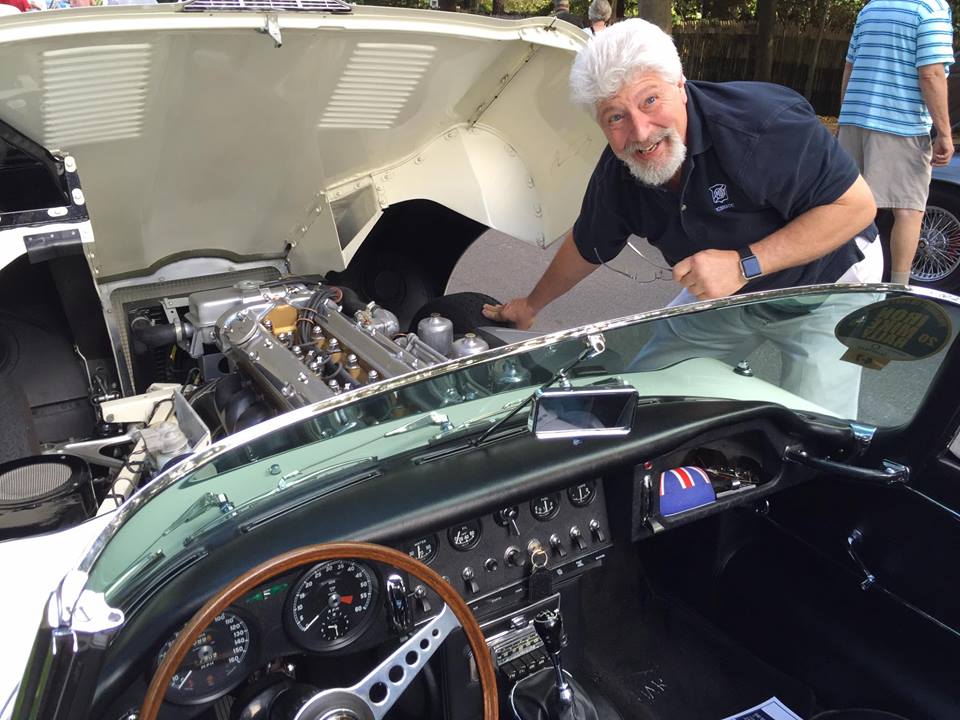
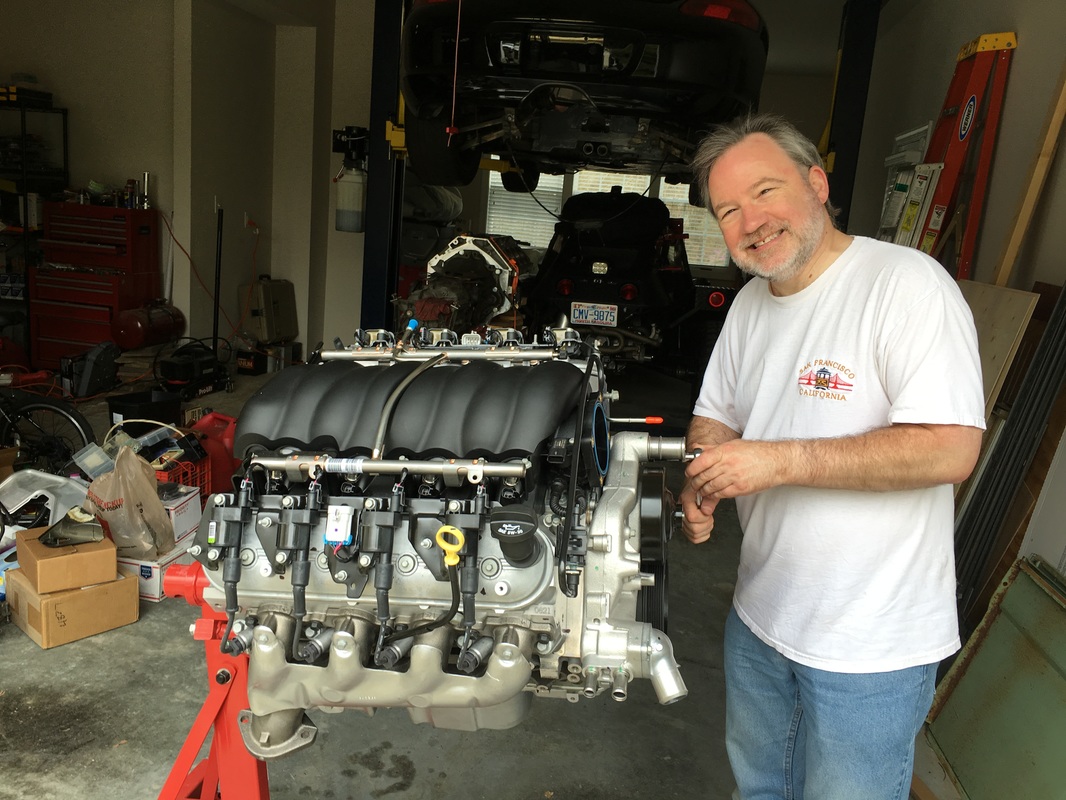
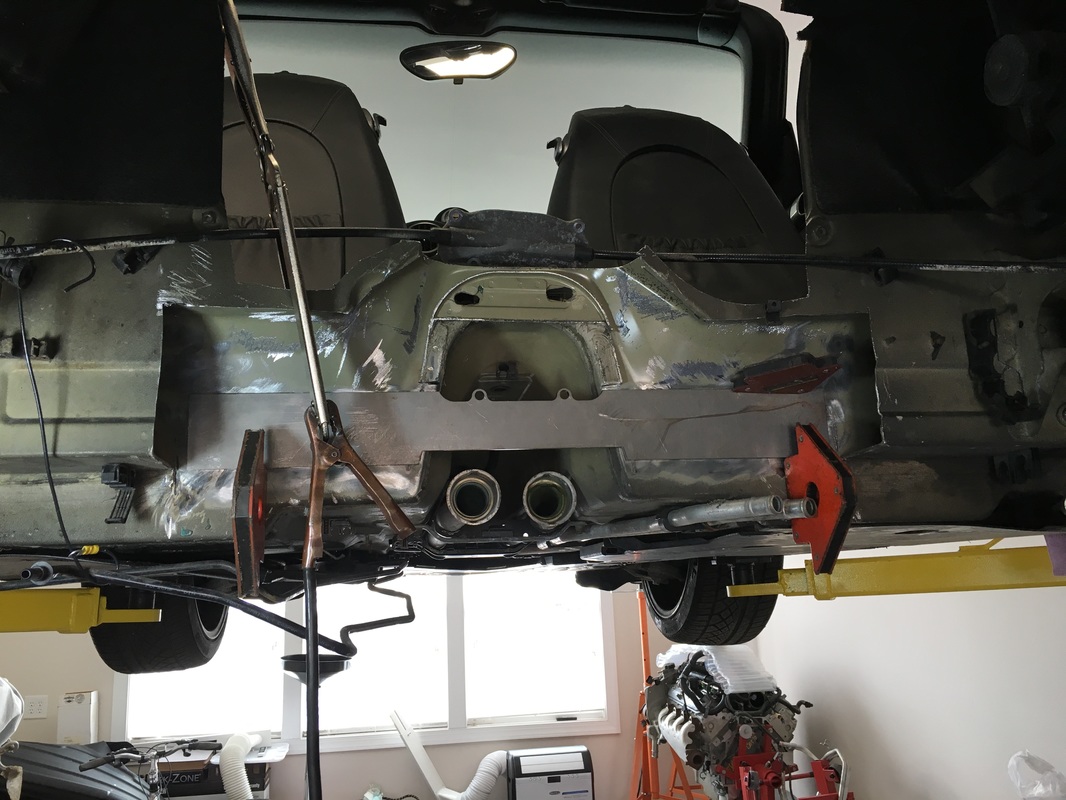
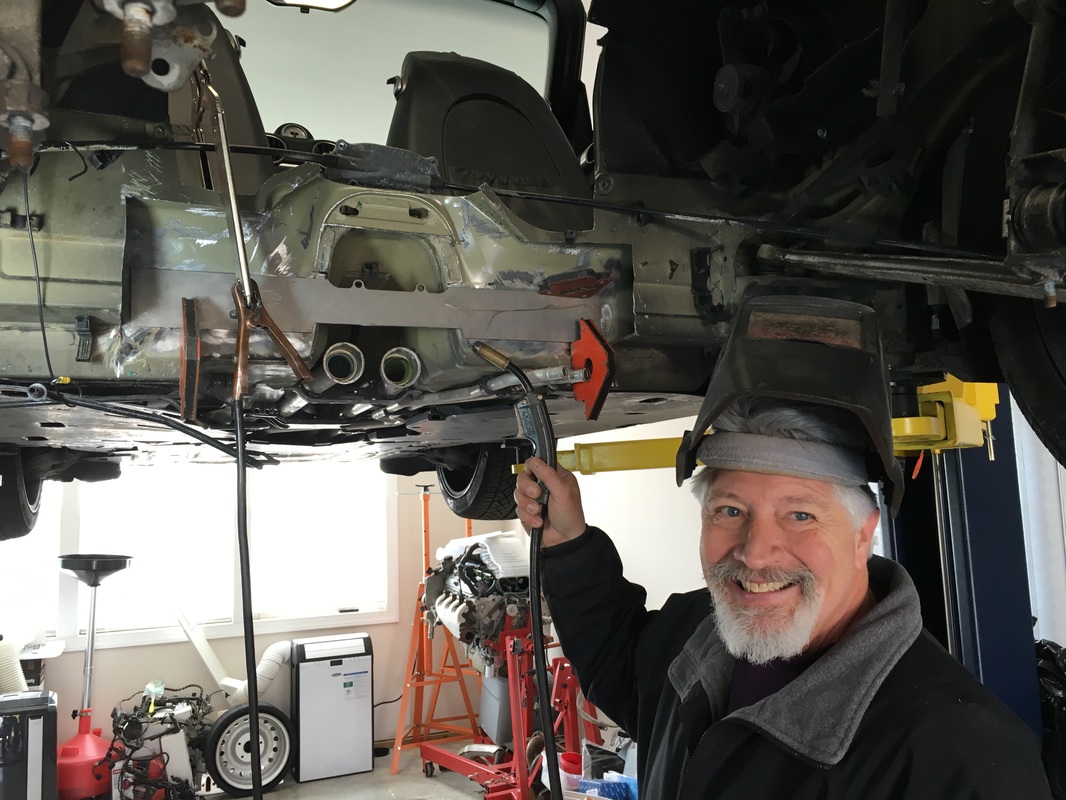
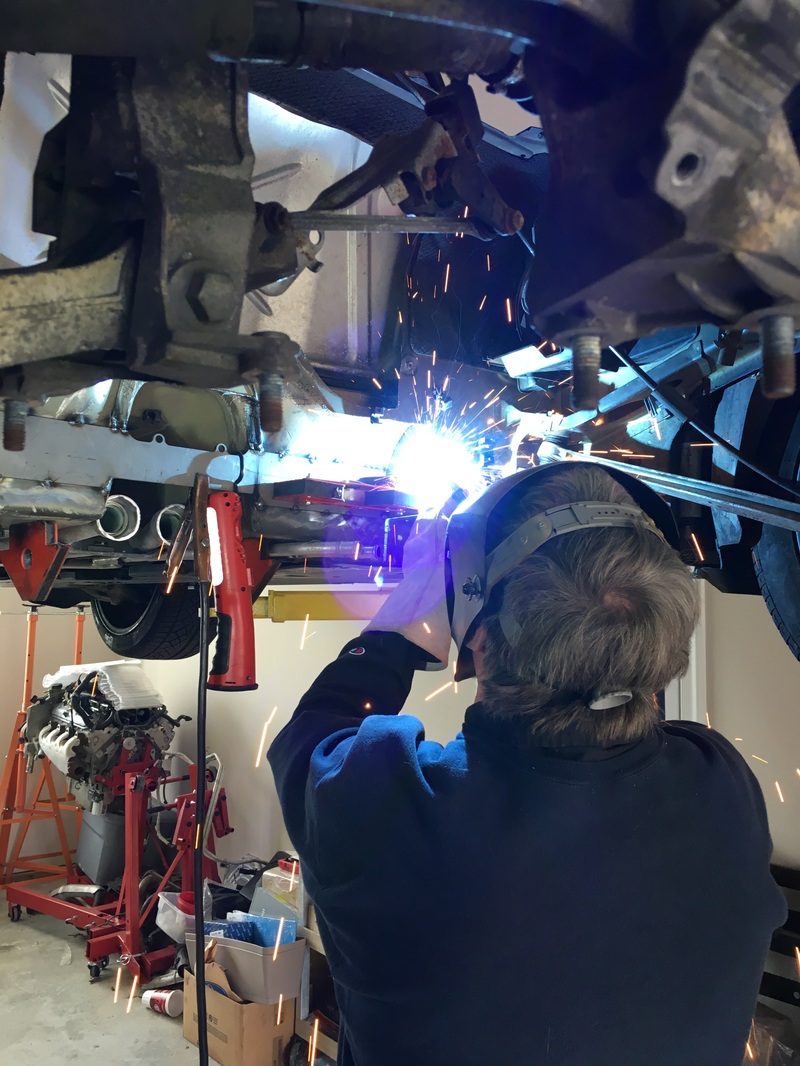
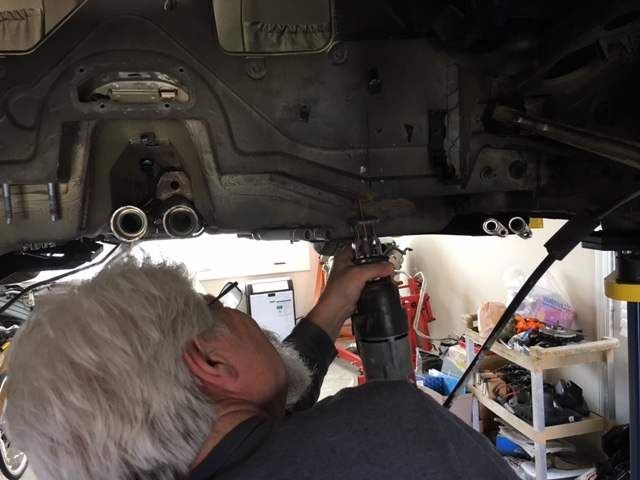
As you see in the above photo, I'm arm-deep into it - getting the cooling system into a better place. It's been a while since I've updated the blog... and even though the big "house" projects are done and the Acura's timing belt is done, it's been way cold to be out in the garage re-plumbing FrankenBoxster! Speaking of the Acura (daily driver), its timing belt design is very similar to Porsche's approach. My car is a TL Type S with the timing belt driving both the water pump and oil pump in addition to the cams (just like many Porsche's). To complicate things - the motor is in there sideways, slam up against the fenders! Some of you may have seen the fun pictures on FB trying to get this done! Enough about the Acura... now back to work on Frankie and the flow charts below:-) I'll be back with more updates as the weather gets warmer!!! (or I add heat to the garage)
0 Comments
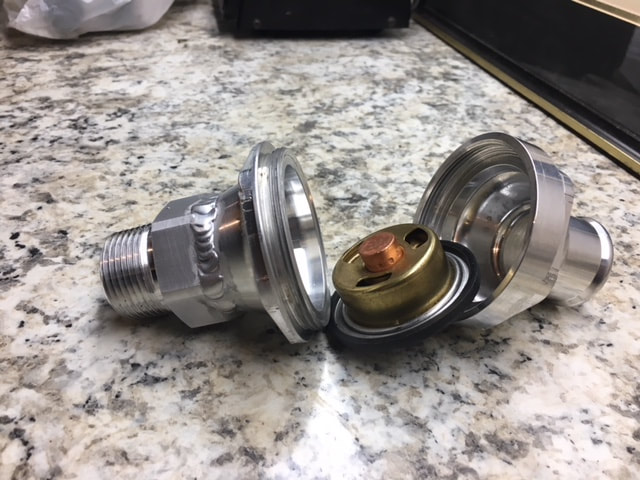
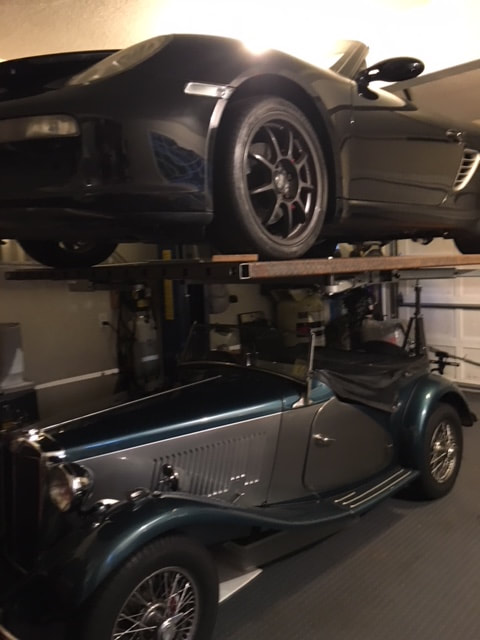
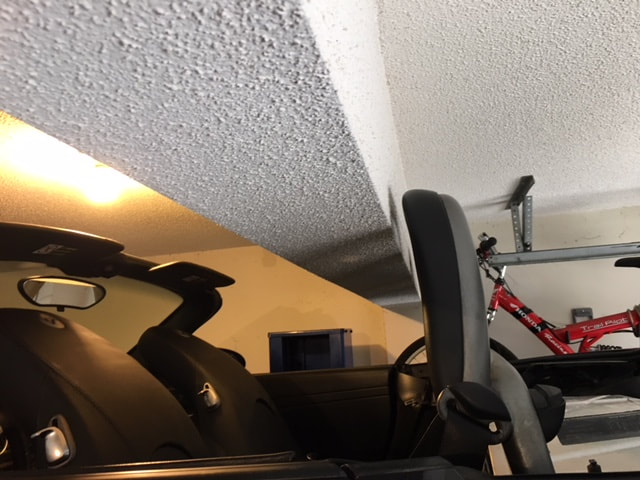
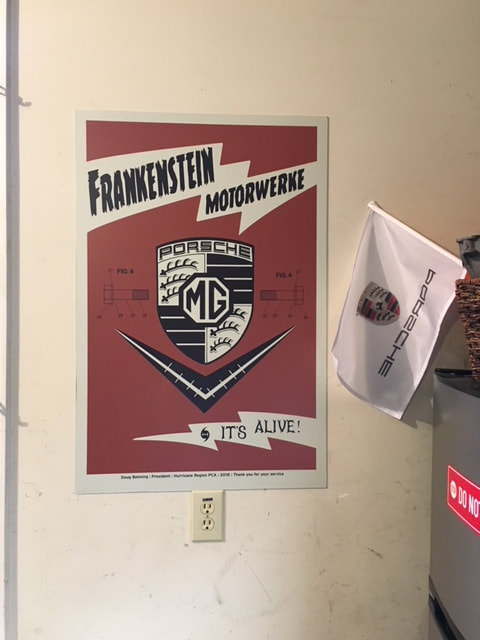
Sooooo - this is what it looks like when graft an inline thermostat housing with a quick disconnect milking machine hose coupler. Fabricated this part to enable moving the thermostat onto the coolant manifold on the FrankenBoxster rather than downstream in the radiator hoses. Hopefully this will go a long way towards cooling things down faster and get me back on the road! I know it's been a while since this blog's been updated (Debbie has me building a deck and forbidding any Porsche work till that's done). So Frankie has been sitting and waiting... and the only sports car I have running right now is the MGTD - which I'll probably drive to Oktoberfest:-) I did reconfigure my lift so it fits either the Porsche or the MG now, here's a photo. They say turnabout is fair play... and the irony is that the Porsche is dripping on the MG now!! And look how close the headrests are to the main beam in the garage!!! And I also wanted to share that the awesome poster you guys gave me at last year's Holiday Party is proudly displayed in my garage right by the frig - so I get see it every time I get a beer! I am looking forward to seeing y'all at Oktoberfest - and will blog again soon, Doug
Well, it’s been a while since there’s been an update on FrankenBoxster in this blog…. And it’s also been pretty cold in the garage lately:-) So the car made a triumphant appearance at Oktoberfest! And it went there and back under its own power! Hope you enjoyed the video, it was from this year's GCA presentation (thanks Shawn and Kevin). So as I was saying.... Frankie made a triumphant appearance at Oktoberfest – and it went there and back under its own power! I am also fearful that it went there without the cooling fans running on the first leg! Upon my arrival at Oktoberfest I was so enthralled with showing off the car’s abilities that it took me a while to notice an eerie silence (if you could call it silence over the exhaust’s din), the silence was from the lack of cooling fans running. Surely by now it should be hot enough to kick the fans on? Sadly the temp gauge seems to follow a normal warm up curve and gets to 185 and then never goes higher? What’s up with that? (figuring that out will be most likely be in another blog installment)
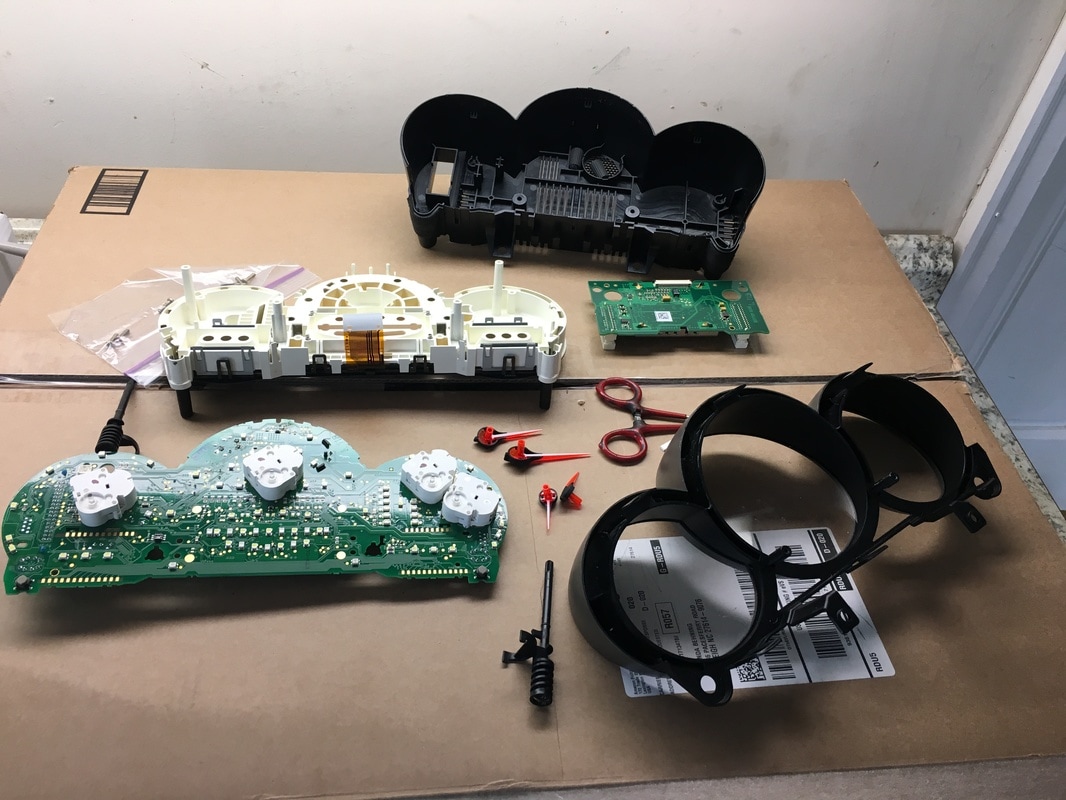
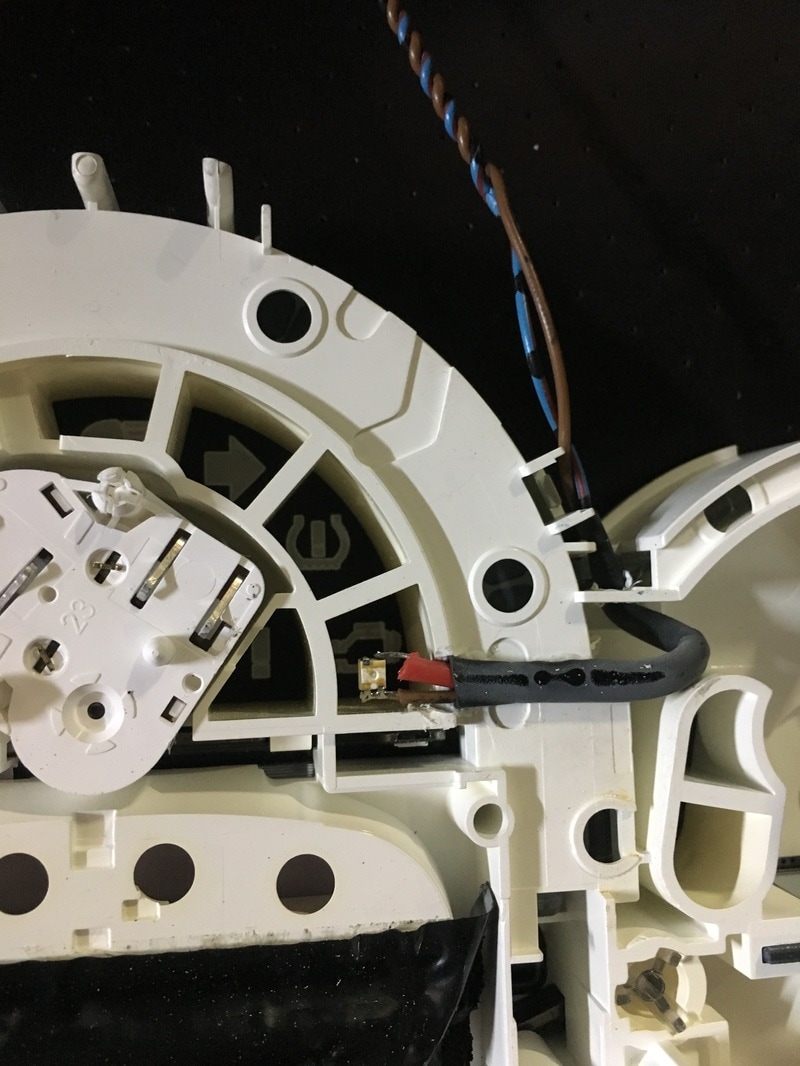
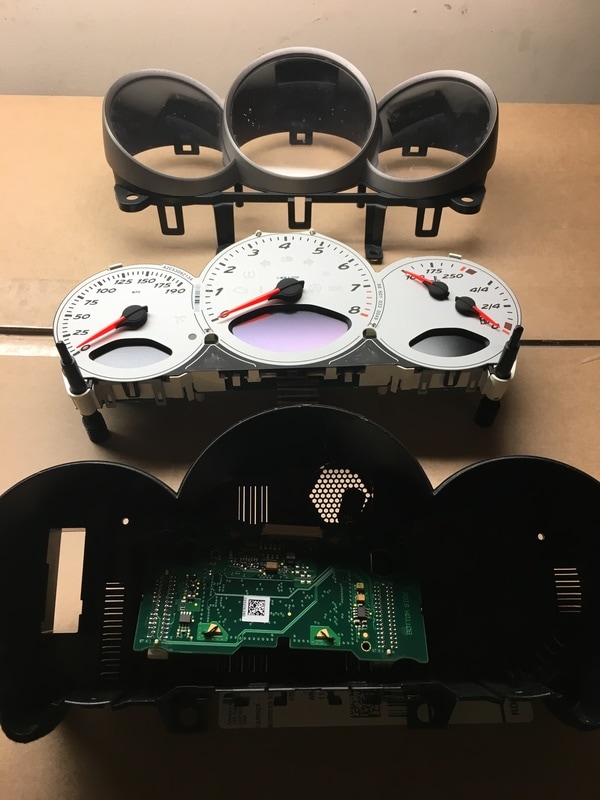
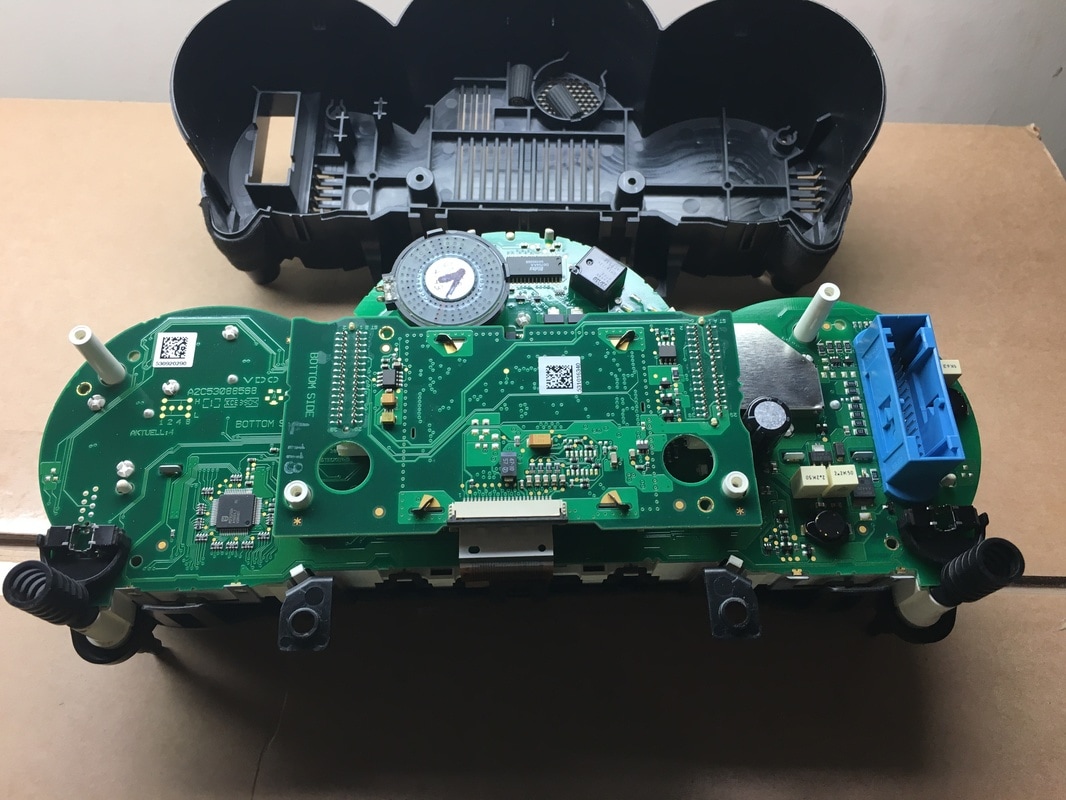
So…… I go into the rear trunk and pull the interior covers revealing all the wiring, computers and relays that I had spent hours making pretty/concealing before Oktoberfest. I proceed in undoing all of the pretty tidying up to get to the cooling fan control relay I wired in and unplug it – this makes the Porsche Cooling Control computer in the front trunk think it’s lost communications to Main DME Computer in the rear trunk and puts the fan circuity into “fault mode” which spins the fans up to full speed! BTW I drove it home this way… I guess I should now take a moment and talk about CANBUS. Ugh:-( Think of CANBUS as a local area network (LAN) but in your car. I cannot even begin to tell you how much this has complicated FrankenBoxster’s creation! CANBUS is pretty much in all cars nowadays, and it is really a great idea – for example; instead of having a huge bundle of wiring with wires running to every gauge/idiot light in your dashboard back to the various senders in the engine compartment, etc - you can just run a 2 wire BUS between the Controller Computer on the dashboard to the Controller Computer in your engine compartment (DME) or to the Cooling Controller etc… and just sent messages back and forth to everything over two wires. Saves miles of wiring in your car! And I’m up to 14 different computers I’ve found in my Boxster thus far. They are simply daisy-chained with a twisted pair of wires and merrily talk to each other about what’s going on and keep things running on the straight and narrow. Got to love technology. Have I lost you guys yet? Now back to Frankie’s cooling fans…. Sadly in the world of CANBUS a Porsche DME doesn’t simply “talk” to a Chevy PCM, so other arrangements have to be made. In the case of the cooling fans, I put in a relay with the Porsche cooling control computer reference voltage signal going through the normally closed contact – and then wired the Chevy PCM fan controller voltage signal, which is energized at 185 degrees, to pick the relay which in turn opens the normally closed leg thereby dropping reference voltage signal to the Porsche’s cooling control computer making it go into “fault mode”. Once this particular computer goes into “fault mode” it turns the fans up to full speed as it believes it has lost access to the CANBUS to receive messages telling it what to do with the fans… when in doubt spin it up! Guess the Porsche engineers thought than any fault should have safety protocols that error on the side of caution and run the cooling fans. I’m not even going to tell you how we tricked the Driver Safety Computer into thinking the clutch pedal is down and allow the starter to engage when you turn the key. Our next blog installment we’ll talk about getting the temp gauge to read accurately – bet you can’t wait! If you’ve still reading this – I really have to thank you for hanging in their!!! Your Pres (Doug:-) Well.... the challenges continue. Before we get into all the latest trials and tribulations just to get the "Check Engine" light working, I thought it would be good to review that the tachometer is now working and how! Turns out both Porsche and the GM LS3 use 58 tooth reluctor wheels! We just needed to find and scope the 5V square wave from the GM reluctor wheel and then route it to the Porsche's DME harness so it could pass the pulse count onto the microprocessor contained on the instrument cluster's circuit card. Sadly that was easy compared to how the check engine light and other idiot lights operate.... SO HERE GOES!! (more photos at the end of the text below) Idiot light operational methods in Porsche 987 and similar models: The DME (engine computer) along with running the engine also monitors various sensors for proper compliance and also for protection.... whenever a fault is found, the DME does its thing to ascertain if an idiot light or message needs to be brought to the driver's attention. Now comes the tricky part - instead of just lighting up a idiot light like in previous technologies - this guy sends out a message on the CANBUS (car tallk for local area network) setting a flag addressed to the microprocessor that is on the instrument cluster logic card to receive for handling. The message is interpreted to ascertain what light it should turn on and there you have it... Oh boy! This method saves the running of multiple unique wires in the harness for every individual idiot light you have. Instead there is just one local area network (CANBUS) that a message can be sent on and all that wiring disappears as its all contained within a logic card on the instrument cluster that is under its own microprocessor control. NOW THAT WE KNOW THIS... how do we get the the GM computer to turn the "check engine" light on and off? In order to pass car inspection, it is a requirement that the check engine light come on initially with the ignition switch and then shut off shortly afterwards with no state conditions recorded. The mind reels at the thought of getting a GM computer logged onto the Porsche CANBUS and speaking anything other than gibberish... You'll see our solution in the photo below Yep, that's an LED we are manually inserting/installed into the Porsche instrument cluster that the GM computer to turn on and off under its own control - and hopefully pass inspection!!! P.S. would not believe what it took to get the instrument cluster dismantled, much less take it in and out of the the dash Now it's off to Amelia Island for Concours - so no work on FrankenBoxster for another week or two.
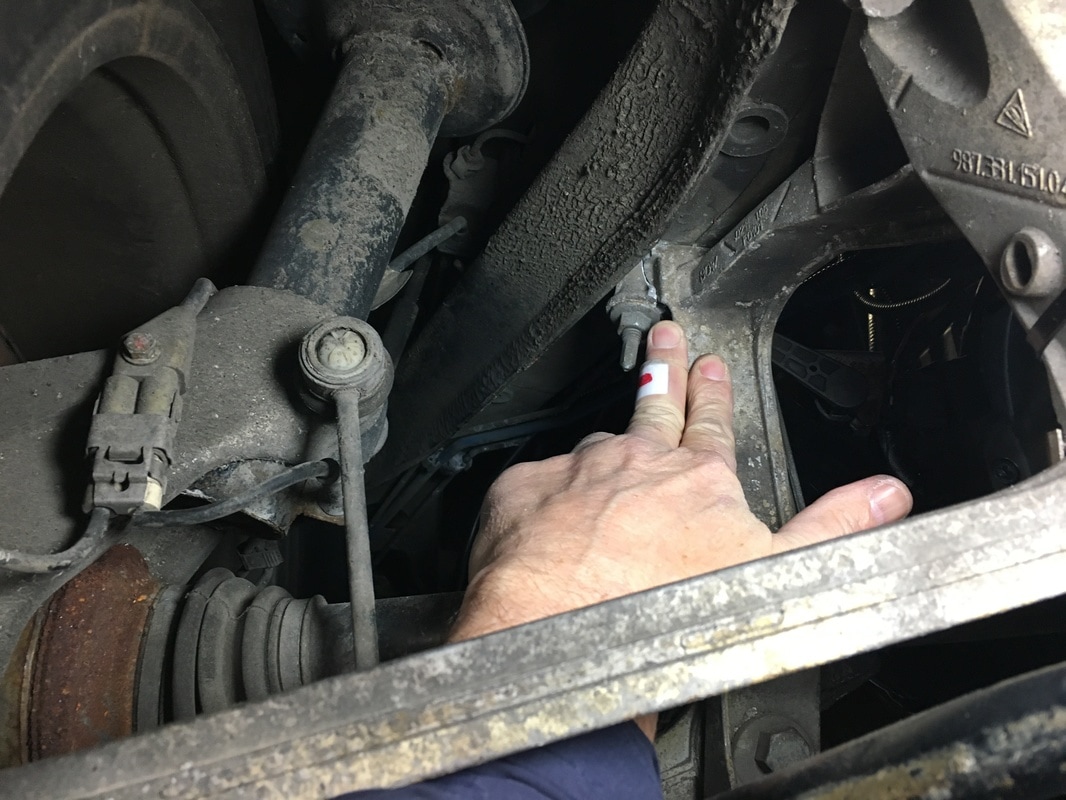
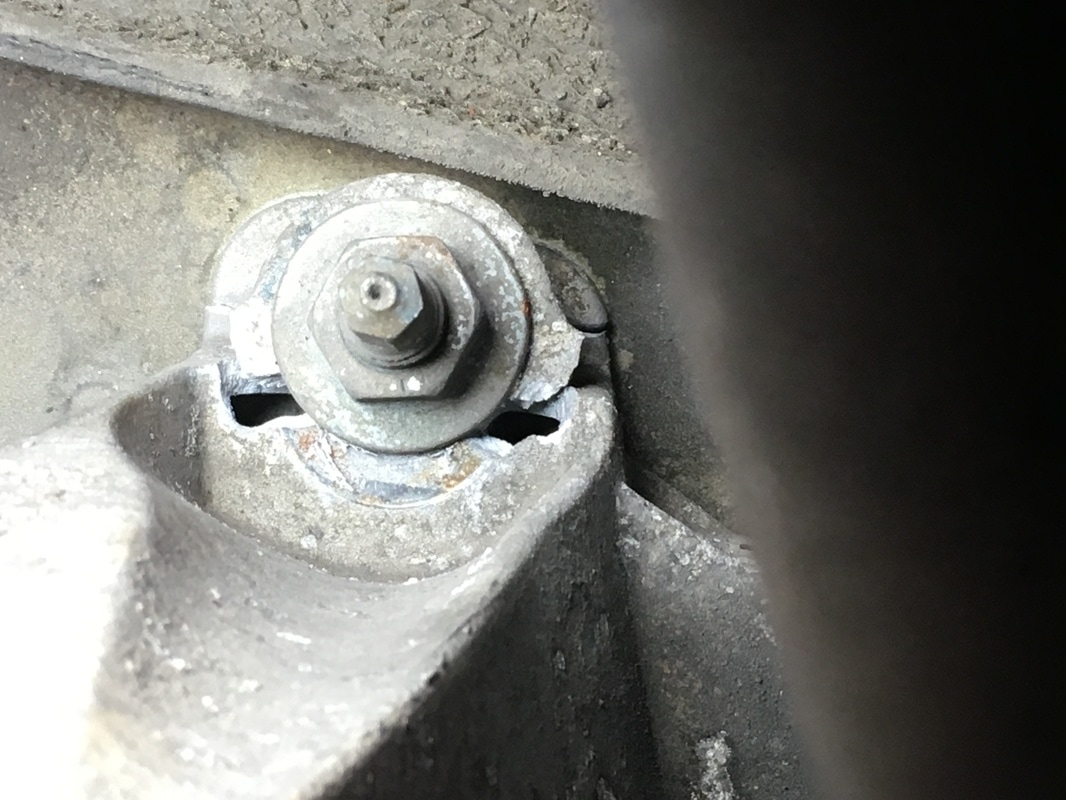
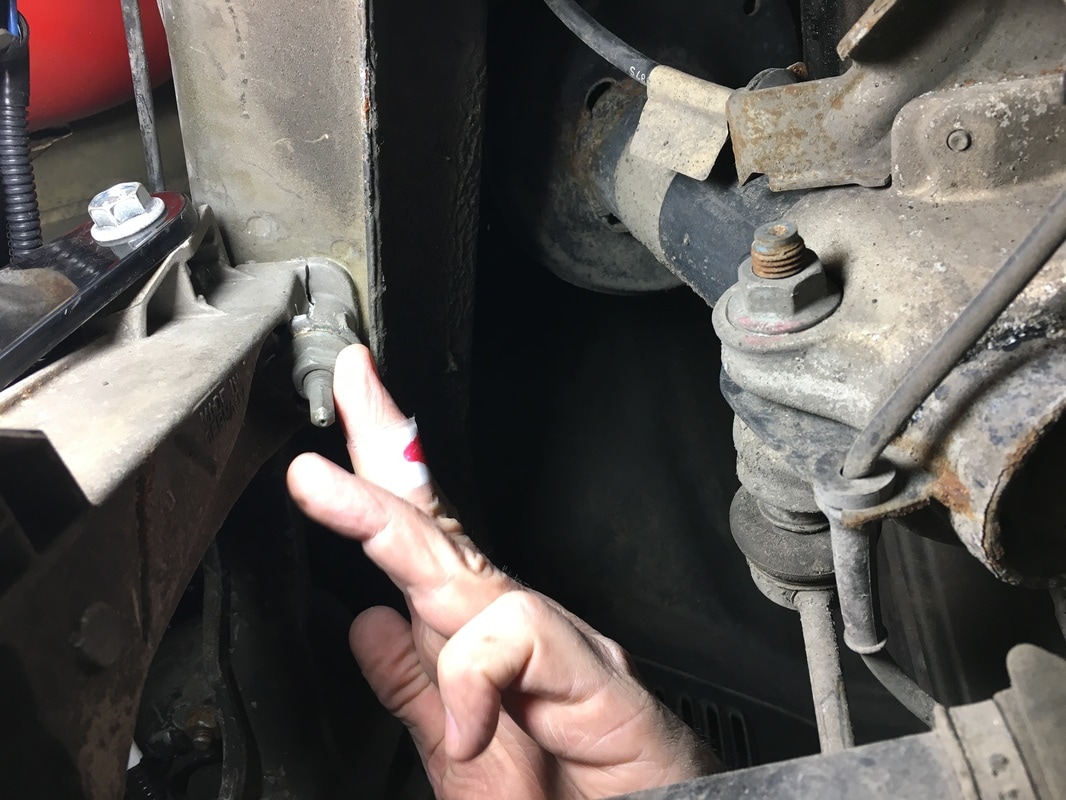
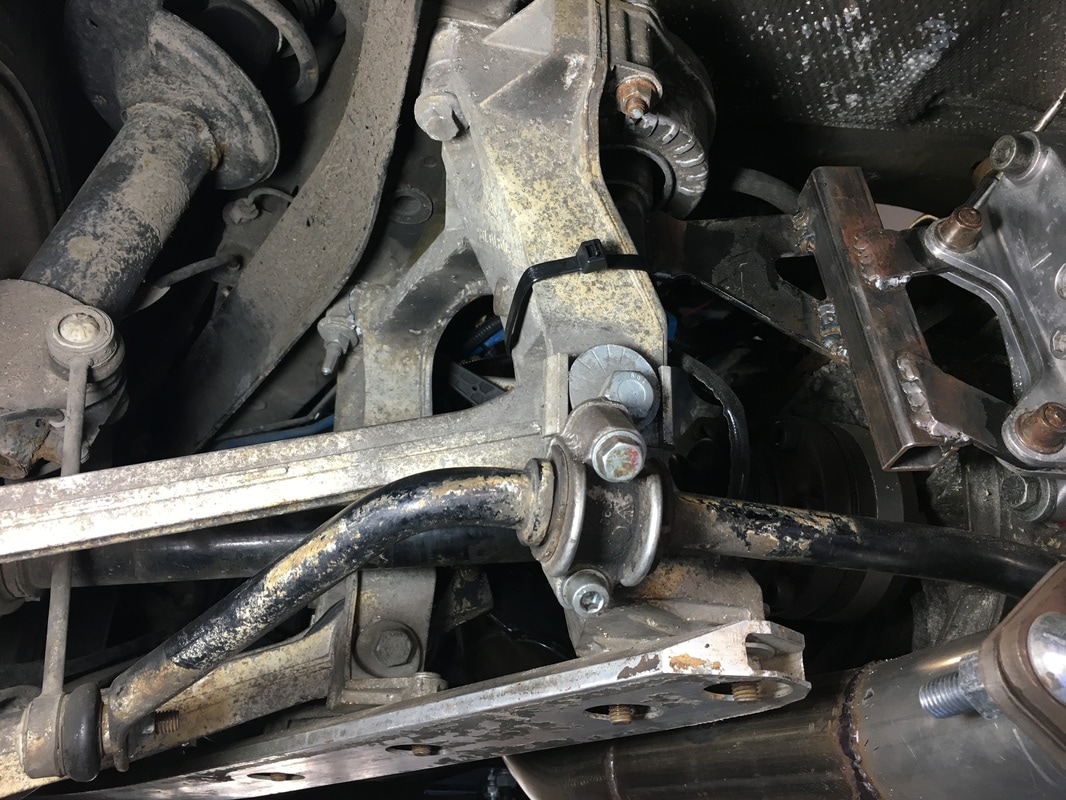
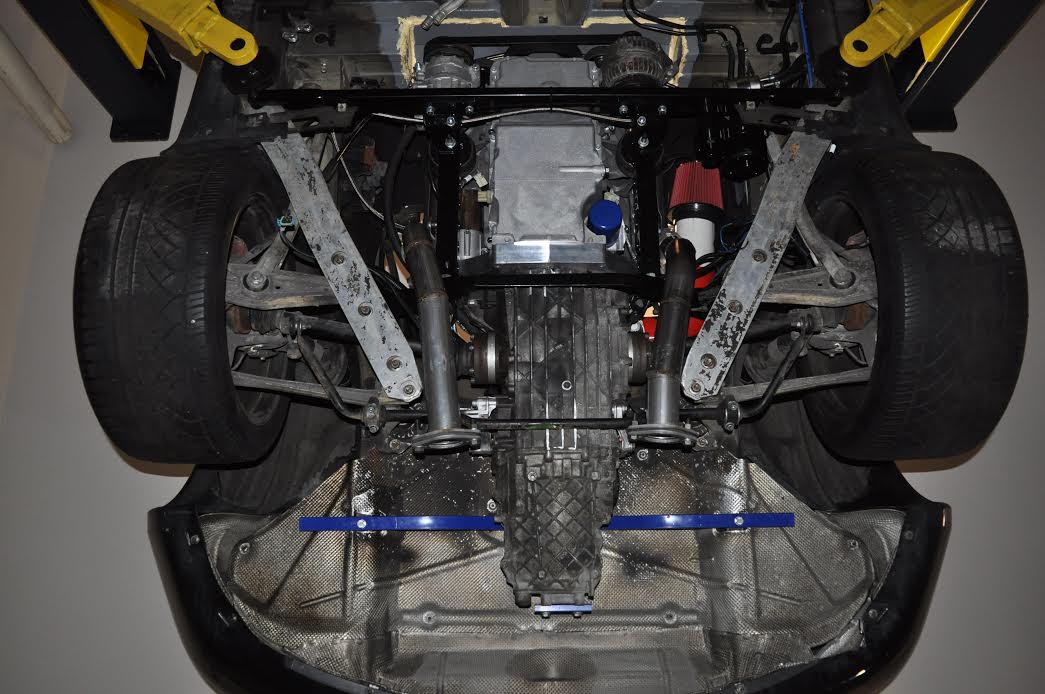
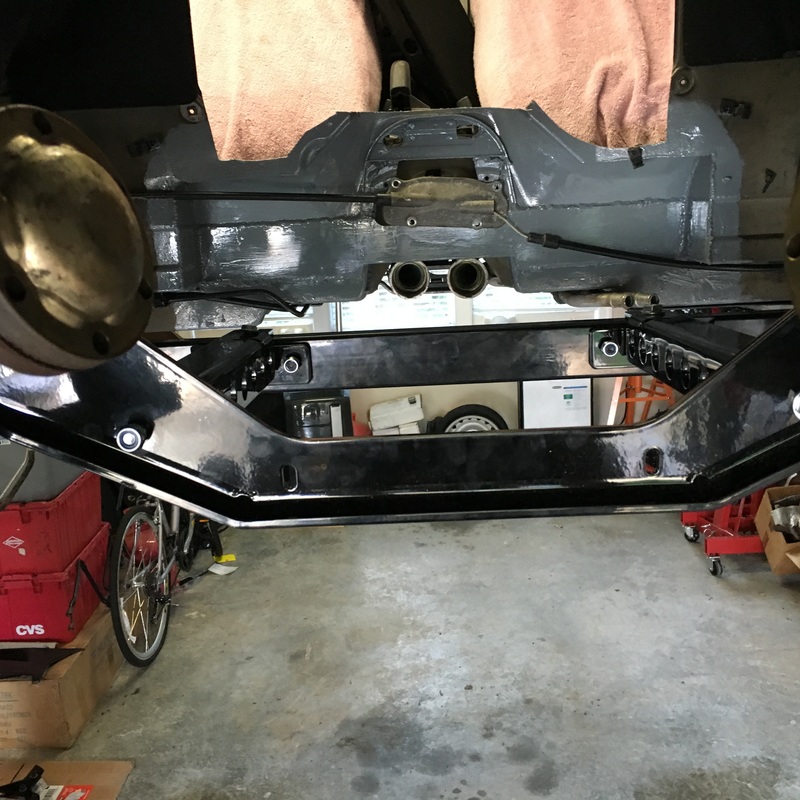
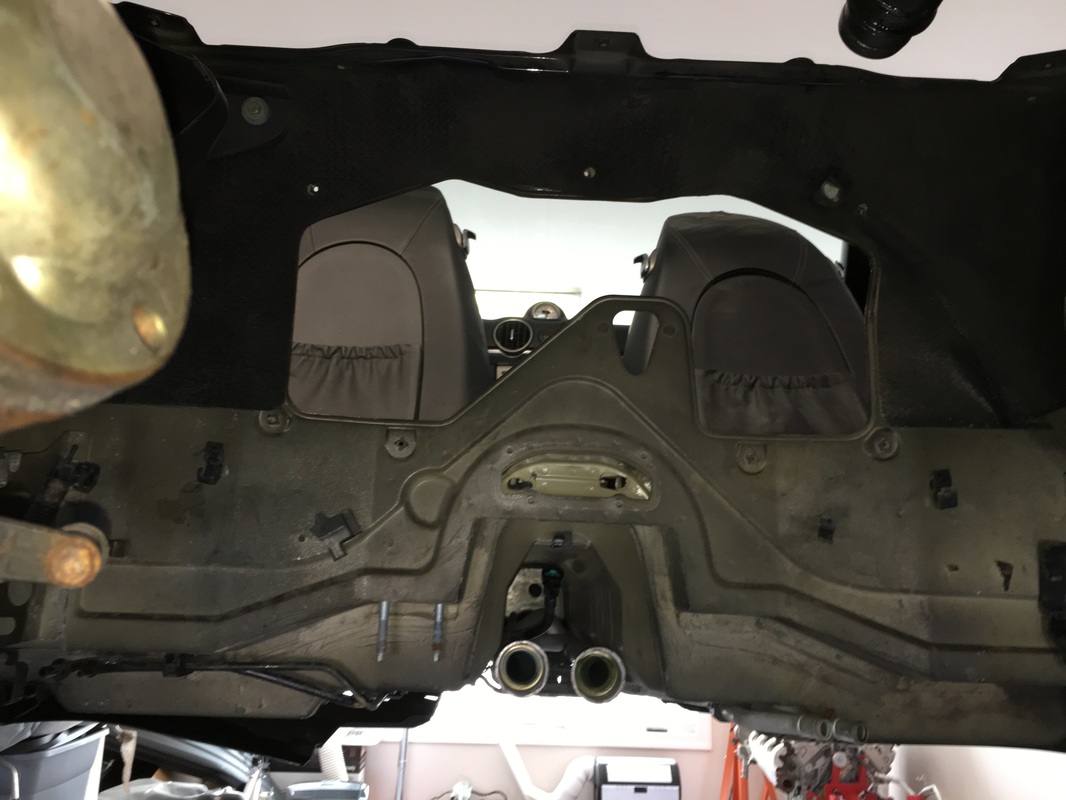
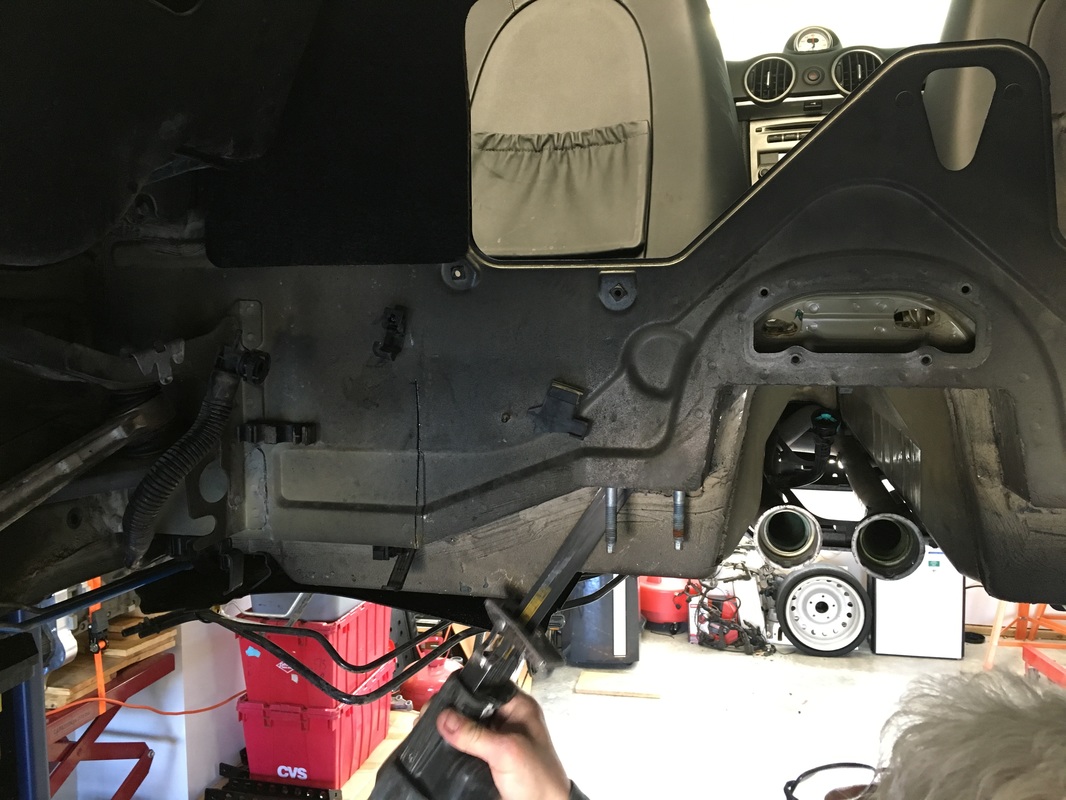
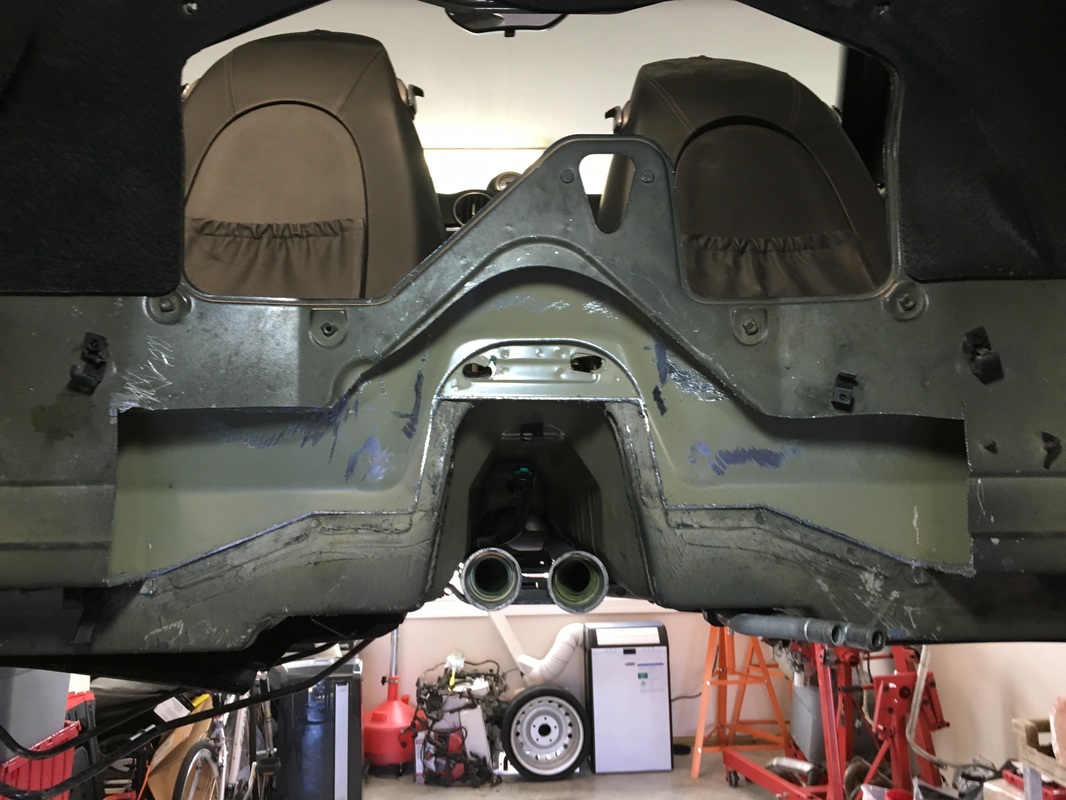
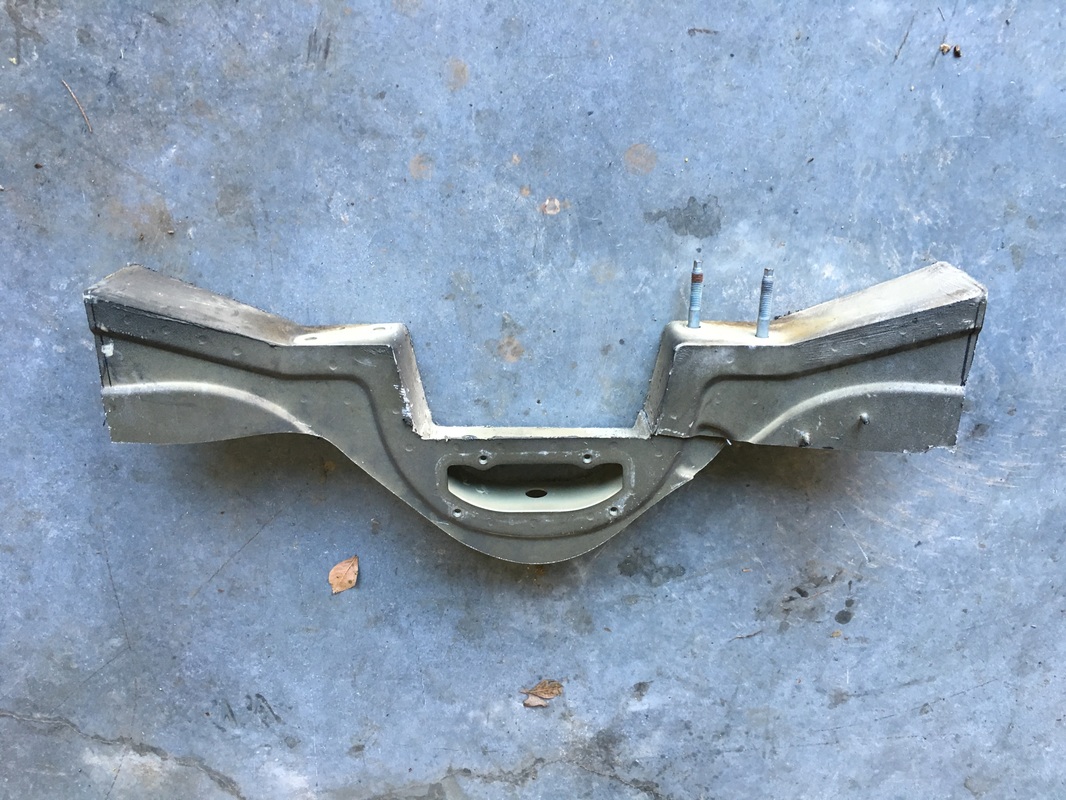
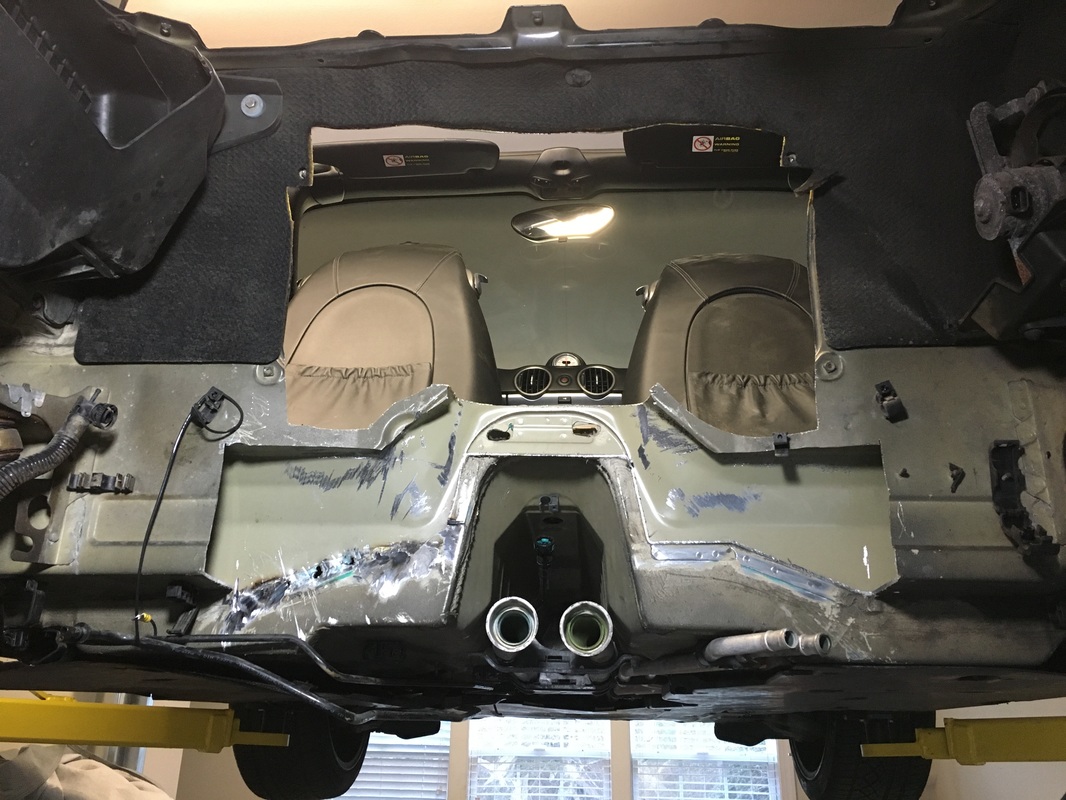
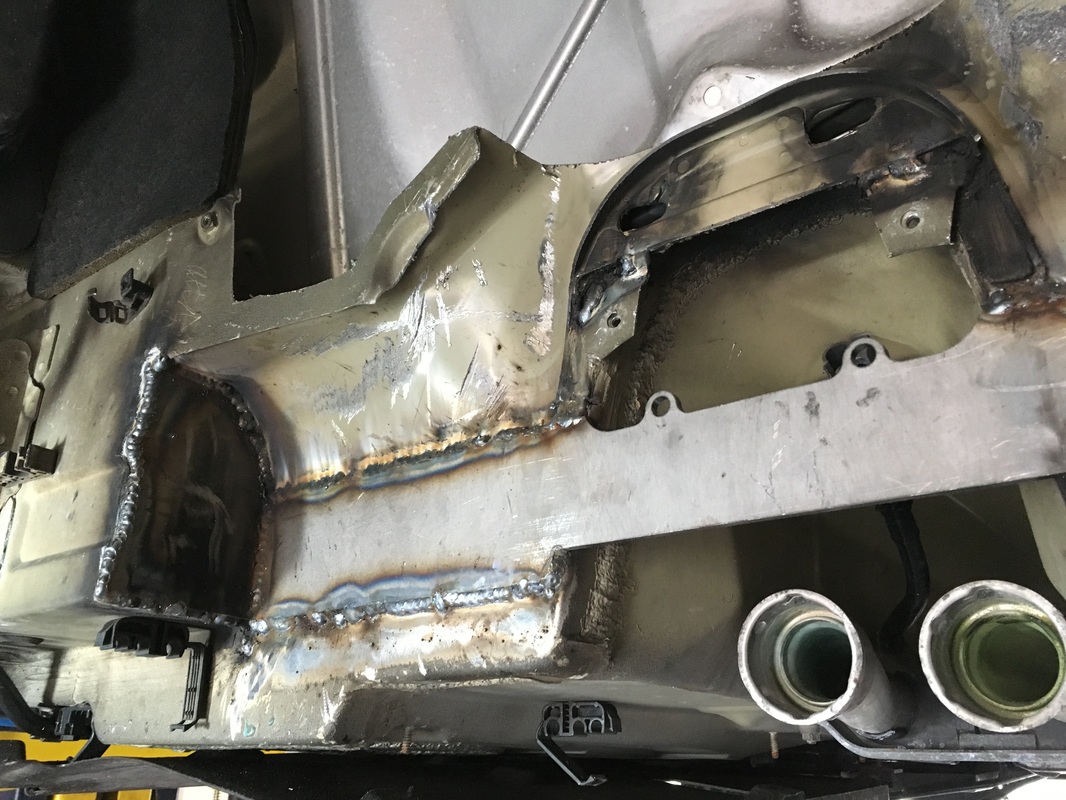
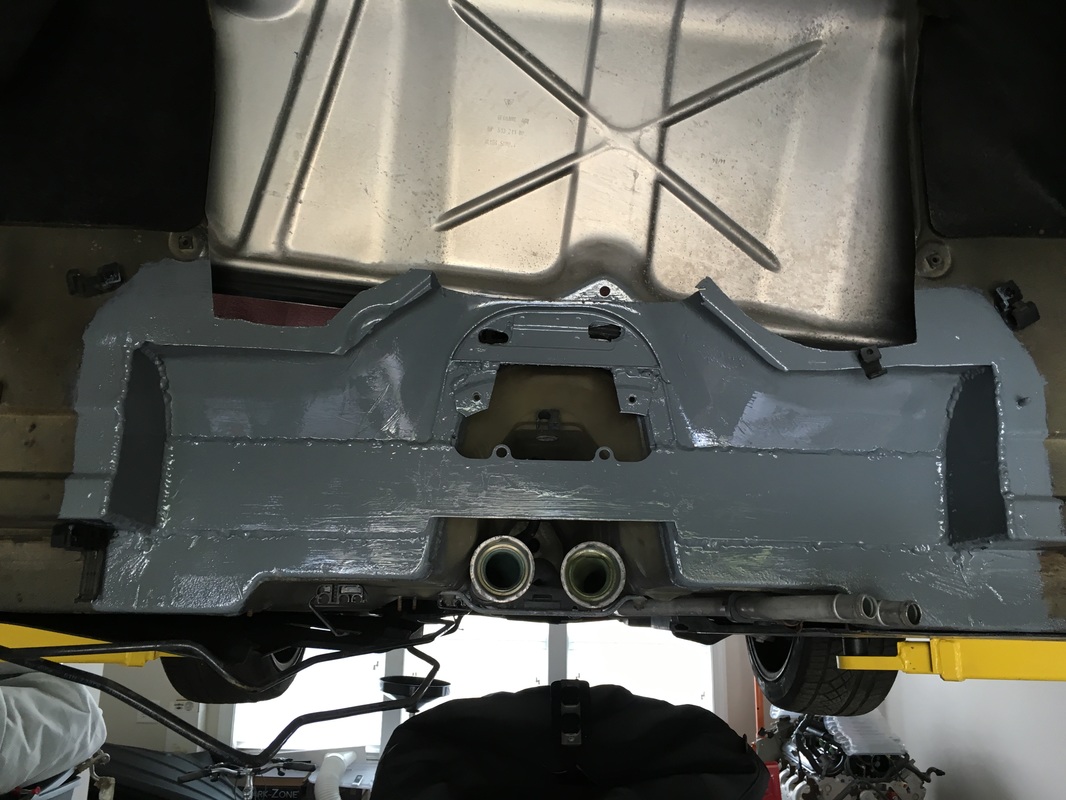
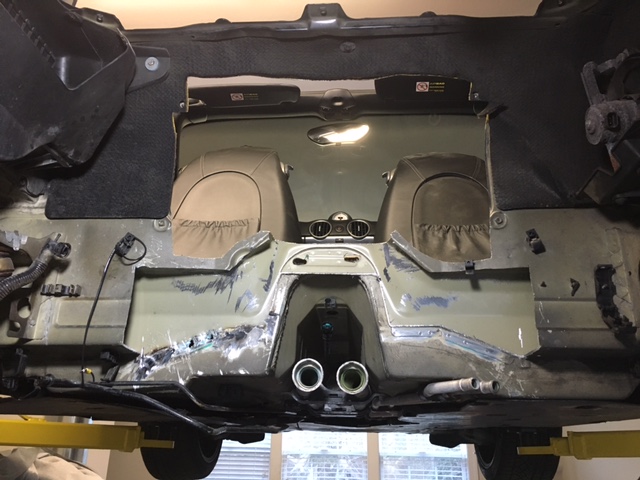
Then the Pinehurst Concours will be here before you know it! That's it for this installment... thanks for reading and viewing. Well... it's been awhile since we've checked in on progress on FrankenBoxster so here's an update to our Blog! The net is that it is nearly completely done with just two idiot lights remaining to be dealt with:-) So here's a video or two of the nearly completed Monster for your viewing pleasure. I must note that while there is great news to share here... there is also some not so great news to share too. For those of you who possess a bit of the "Pollyanna" and want to play the "Glad Game", I must tell you the positive spin is hard pressed to offset the discovery of this not so great news... but I'm getting ahead of myself and probably confusing everyone - so here's a video or two of the nearly completed Monster for your viewing pleasure. Please watch the short videos and make sure to continue onto the rest of this blog beyond the videos for news of the unfortunate discovery:-( Let's take the car outside to see it better & take a "Walk About" the car too! Now onto the unfortunate, or actually VERY fortunate, discovery.... so to begin this conversation we need to talk about this weird looking bracket with a rheostat, with links attached, that has been hanging by wires in the engine bay since beginning the project (defying logical reattachment). This must surely have something to do with the PSM system and monitoring the movement and position of the rear suspension's lower arm? (and in turn telling computers about it). Well after hours staring at every possible mounting option in the rear compartment of the car for hours, we finally found where it mounted! BUT with all this time examining the bowels of the Boxster we also discovered THIS!!! That's the major rear casting that mounts the engine, the transaxle, the rear suspension and Lord knows what else (you can ask Gregg Gaylord about the bandage on my finger and his 18RG engine:-) You probably noticed that you can read the part number off the top right corner... sadly it I had noticed this prior to putting all this "stuff" in the car, I could have changed this casting in a matter of hours rather than having to remove all that has been put in there (we're talking 50 to 60 hours labor:-( Here's a photo from the bottom that might help to visualize the part and the seriousness of the condition - imagine if we romped on that with over 500 horsepower! Next on the agenda is a trip to Rob's to pick up some parts... the parts are not expensive, but oh the hours this is going to take. Turns out Boxsters do not like to be pushed when the drivetrain is out - the engine and mounting cradles are integral to the structure between the suspension struts and the tires will toe out and "buck" as the car is pushed or worst yet towed. This causes movement all the way up to the mounting bolts resulting in the damage you see.
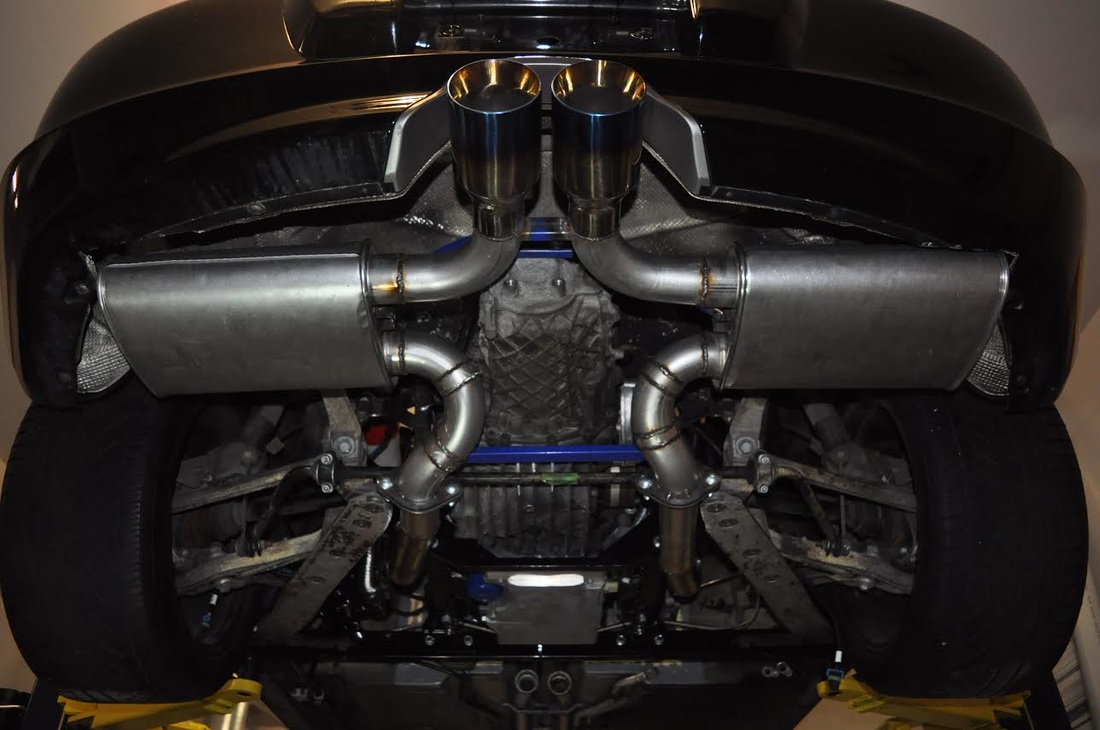
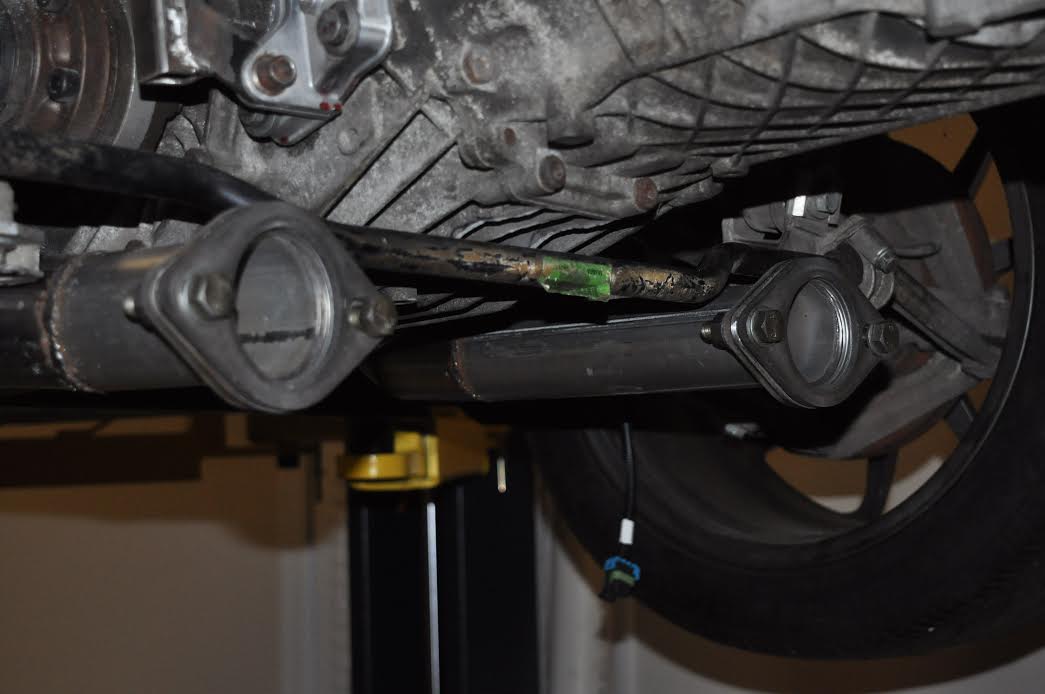
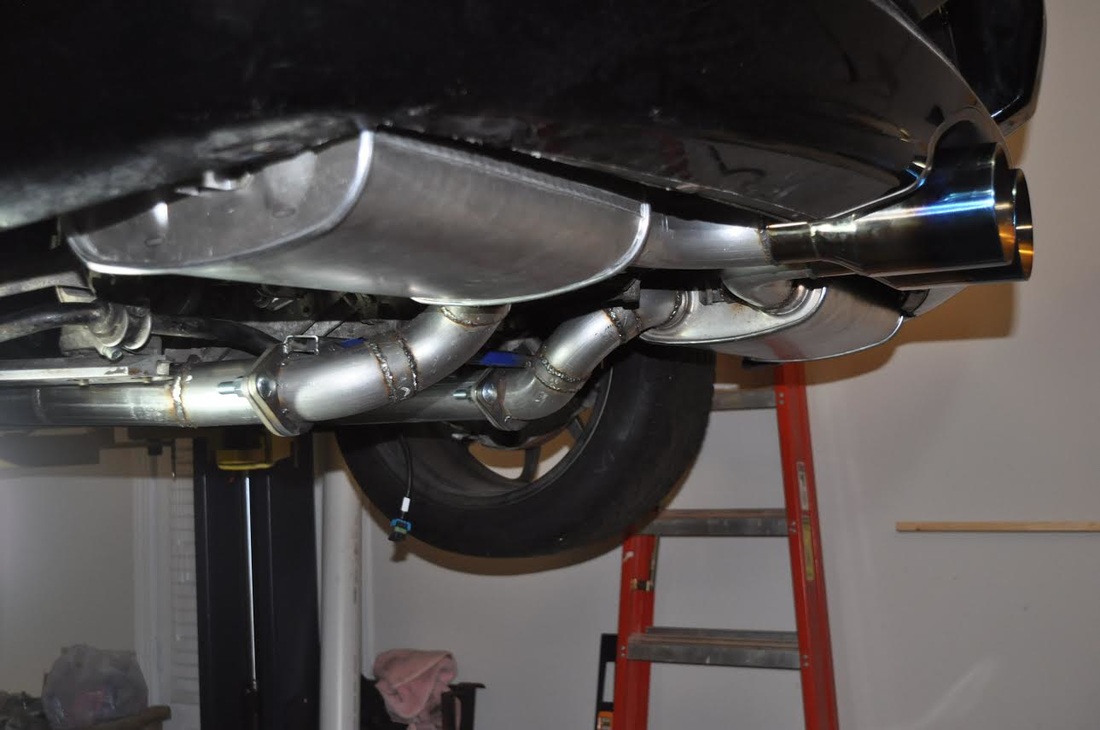
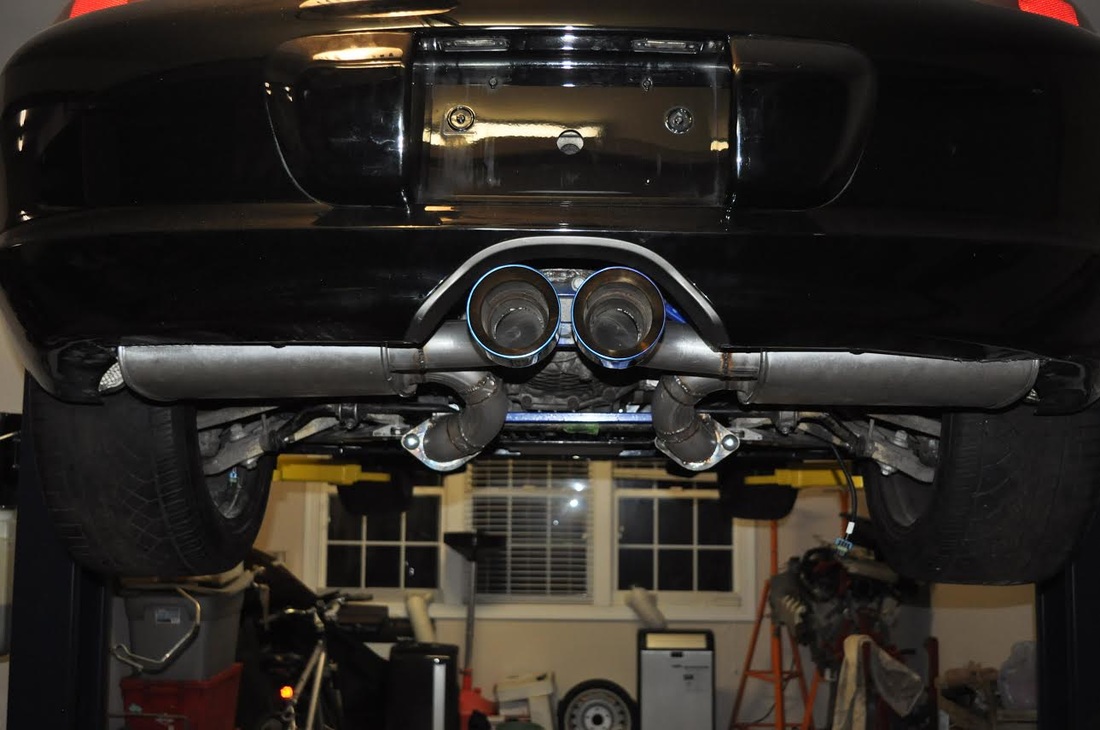
Guess you know what I'll be doing for the next couple weekends:-) Thanks for reading, Doug man... oh man... oh man... there is little room to put an exhaust system on you FrankenBoxster! It took over 60 man hours of labor to get this system in place... sure hope it sounds good:-) AND OKTOBERFEST IS ALMOST HERE!!! Look at that connection from the downpipes to the mufflers - it's a corkscrew!!! Here's some photos of the fabrication & build process and other angles of it finished You've got to start at the Manifolds...here's the first step - the down pipes. There's a lot of important mechanicals to clear and we still have O2 sensors to mount in there somewhere! Here's a side view.... started with several mandrel bent 180's that we section and weld to make all the odd angles and twist required - and that corkscrew into the mufflers is made from multiple short sections of the mandrel bent pipes to ensure we have smoooooooth flow in the system. And here's the most important view!! ... and the one that most folks will be seeing:-) the rear view WE'LL BE SEEING YOU AT OKTOBERFEST! (sure hope it's running by then and I don't have to push it onto the field Oct 16th)
I have never liked bumper stickers and have never allowed them on any of my cars.... But I may make an exception just this one time - I'm thinking about the one below THOUGH I AM FEARFUL THIS MIGHT LEAD TO DISPARAGING REMARKS OR EVEN THE GCA! We'll see you at Oktoberfest:-)
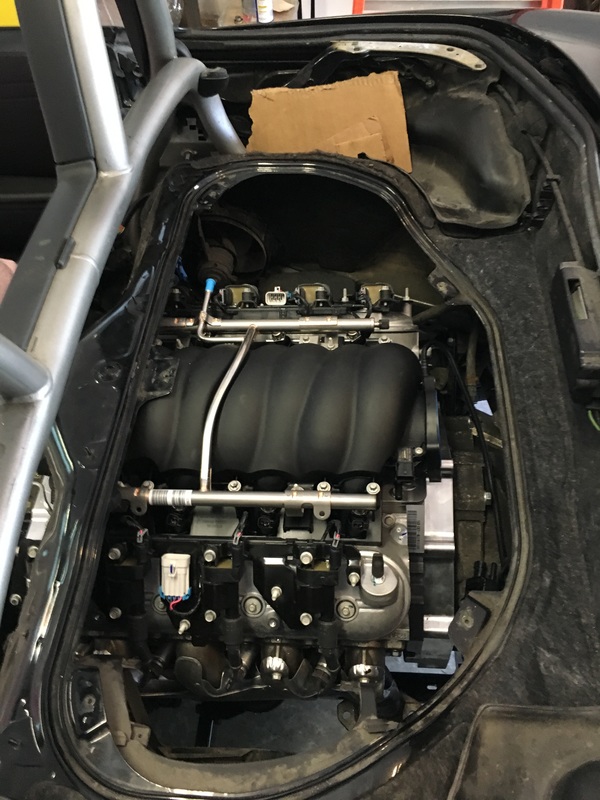
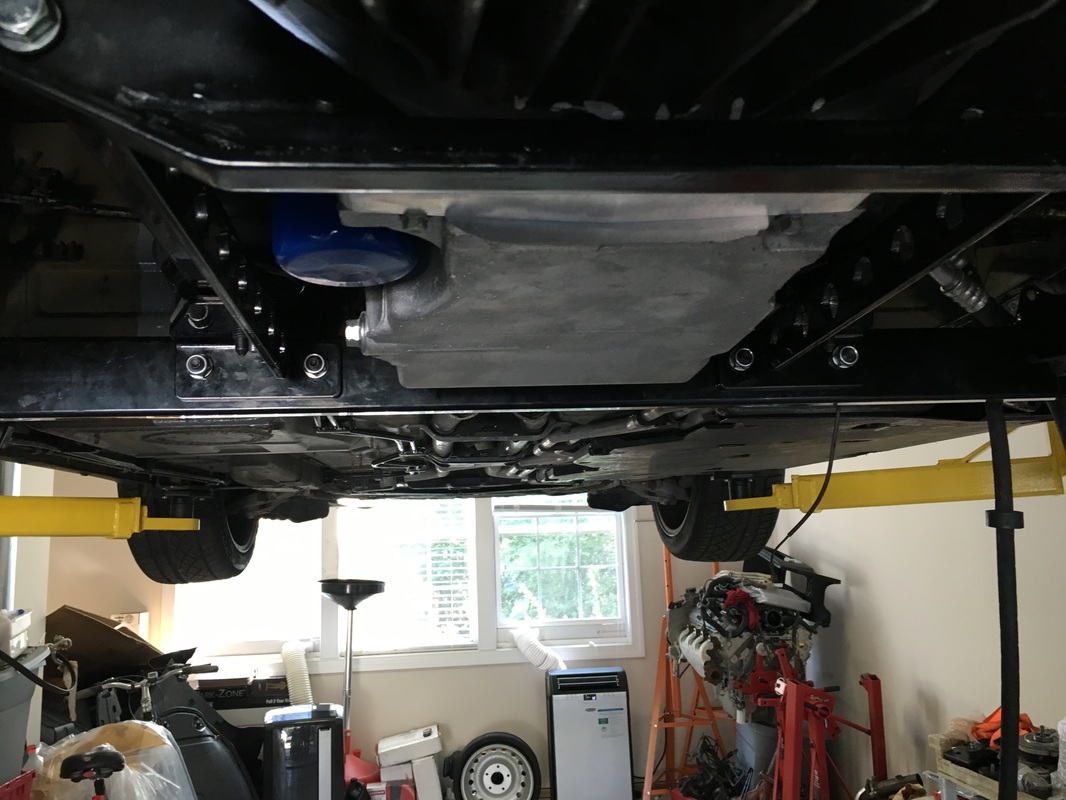
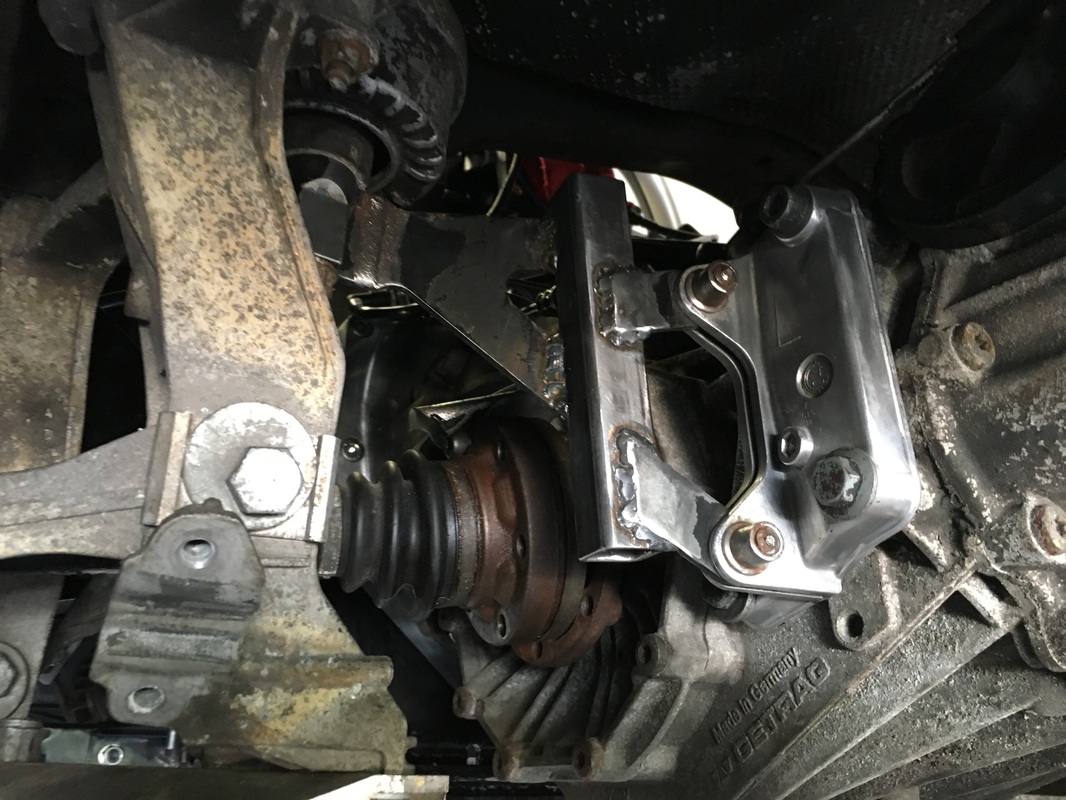
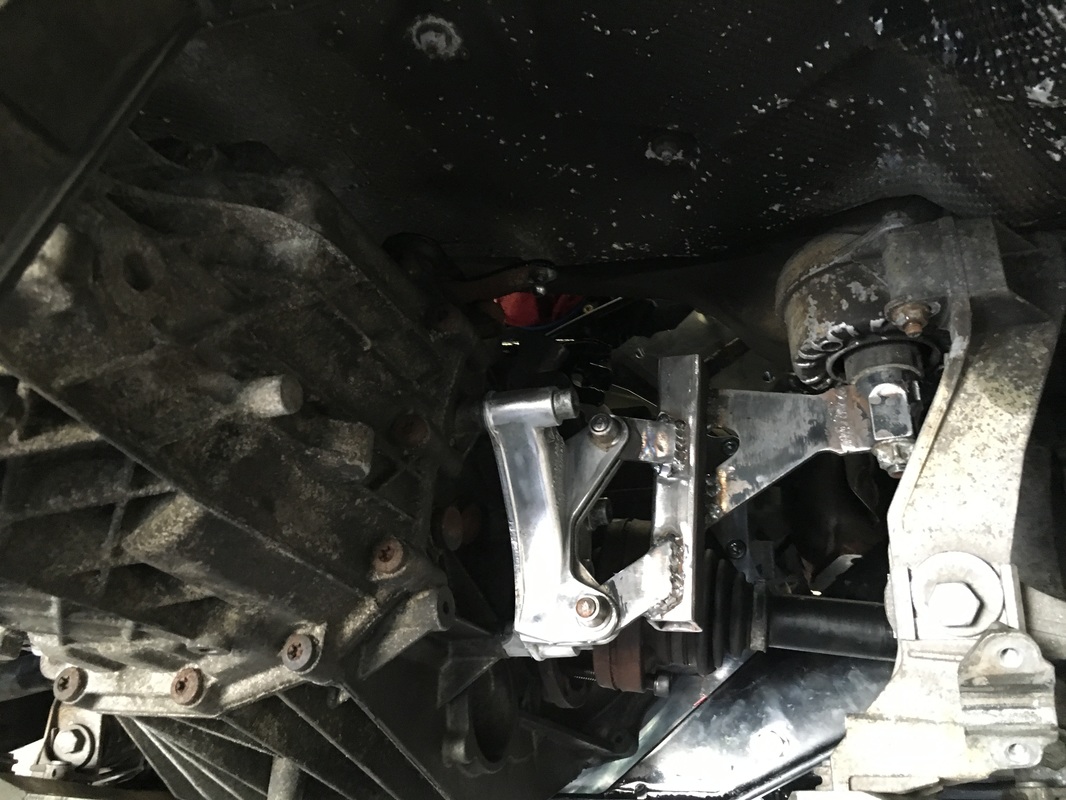
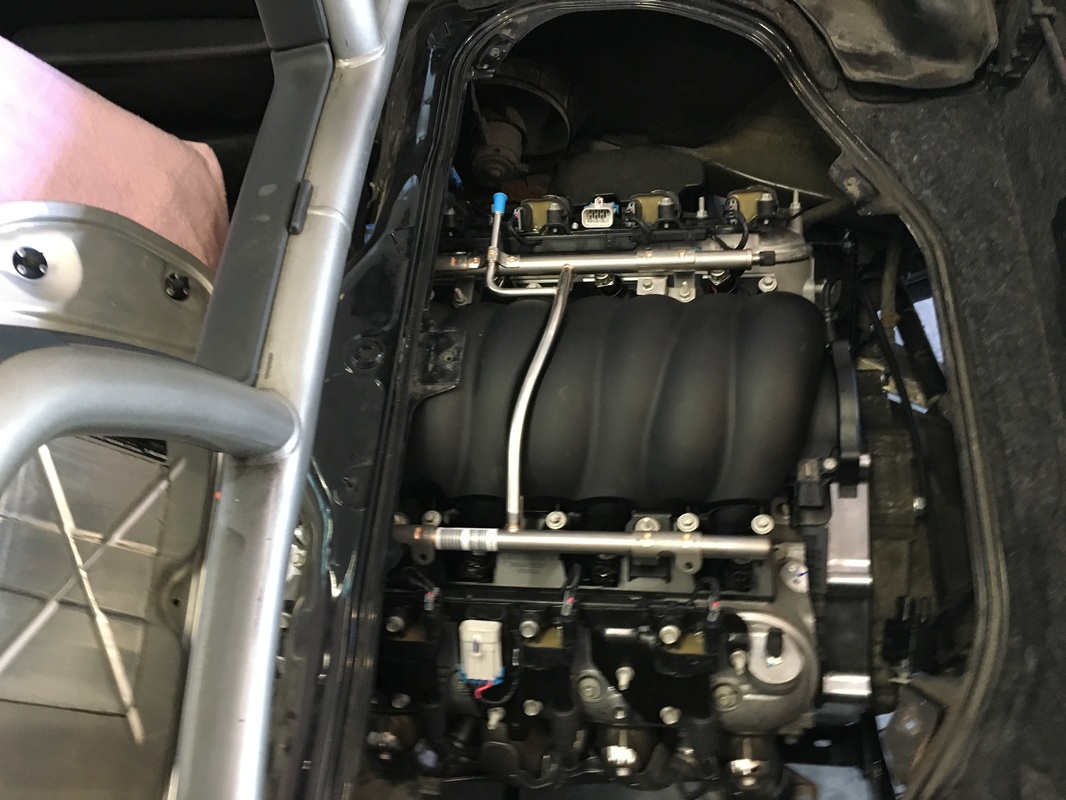
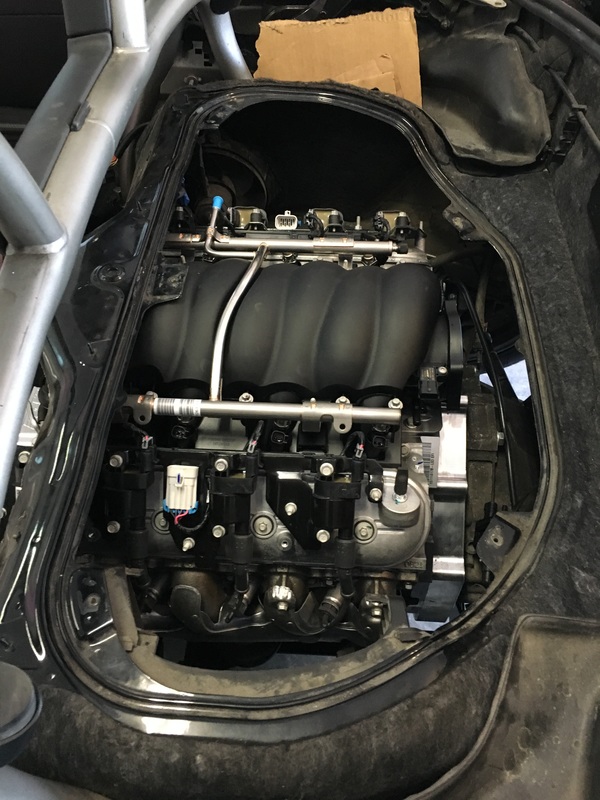
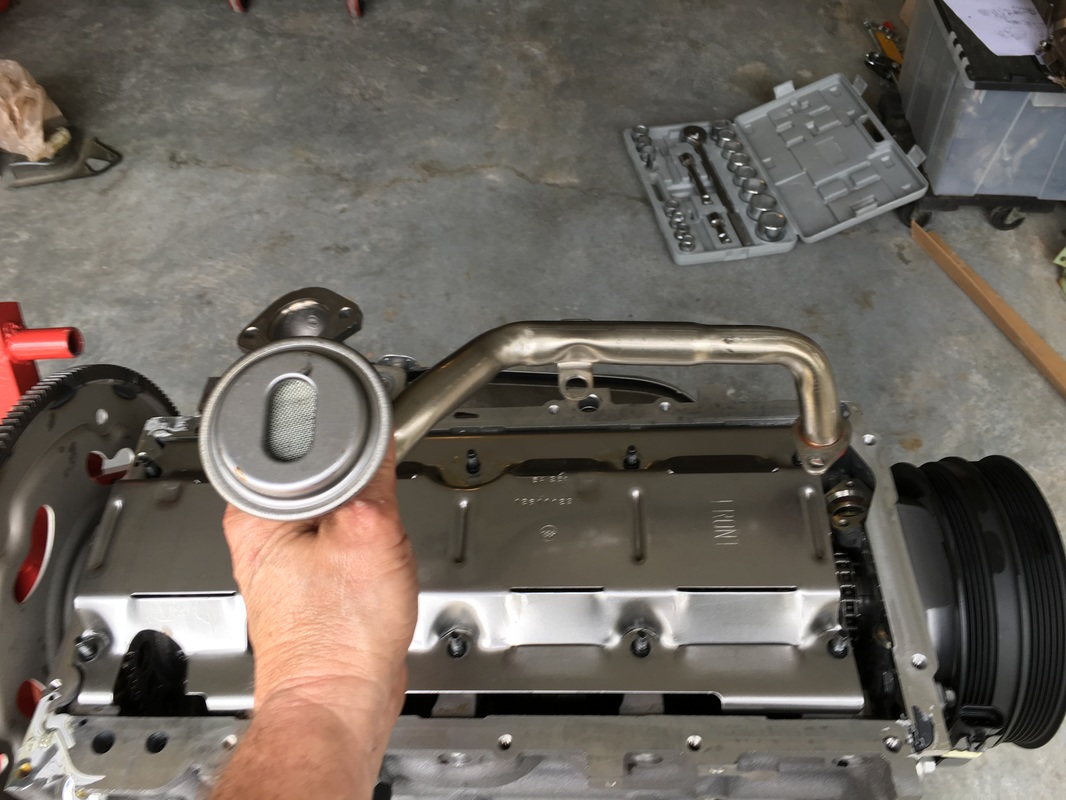
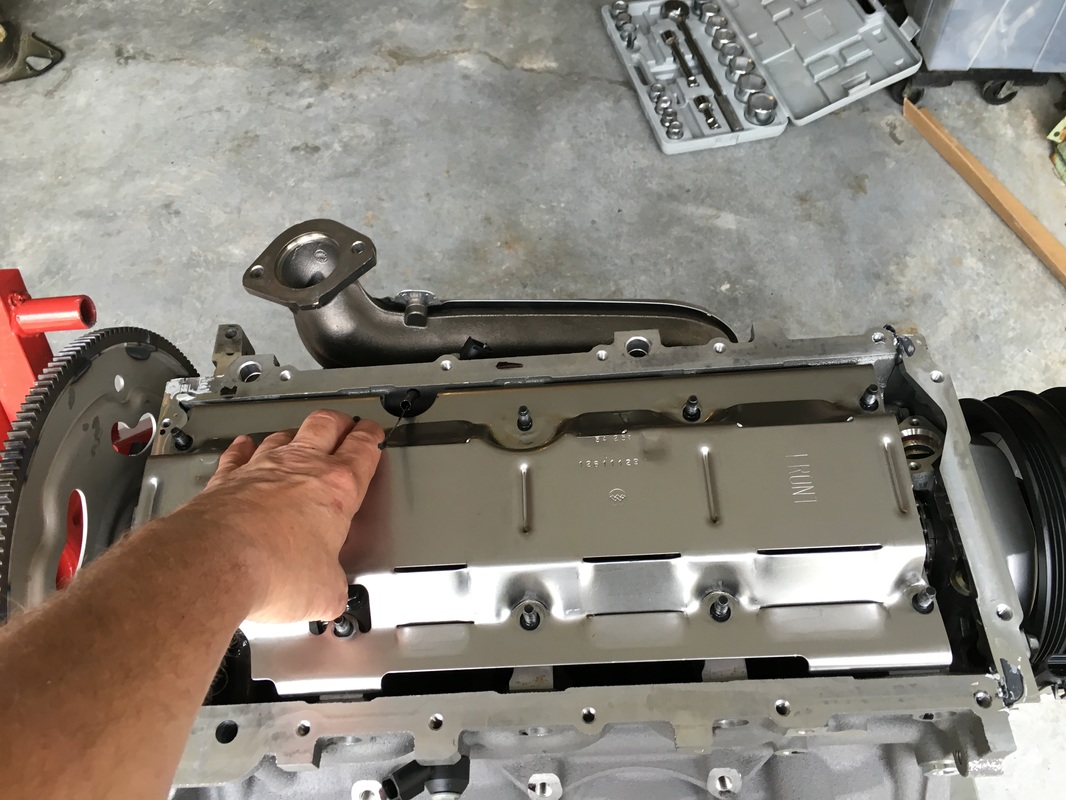
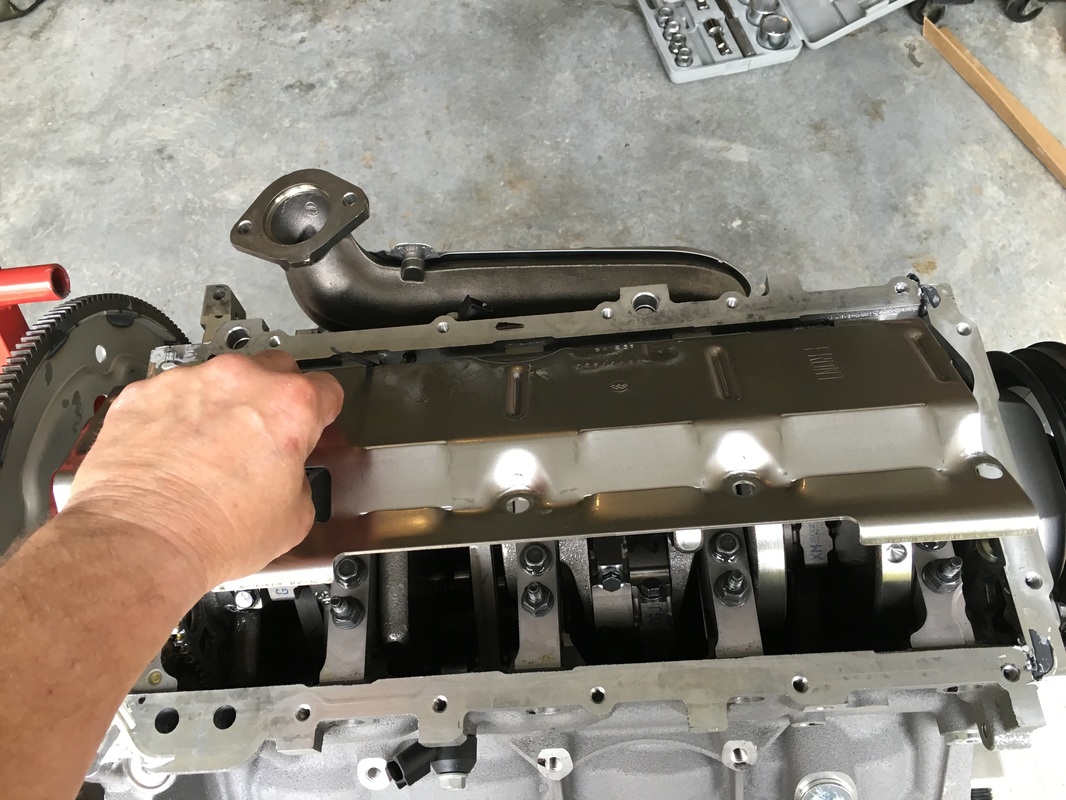
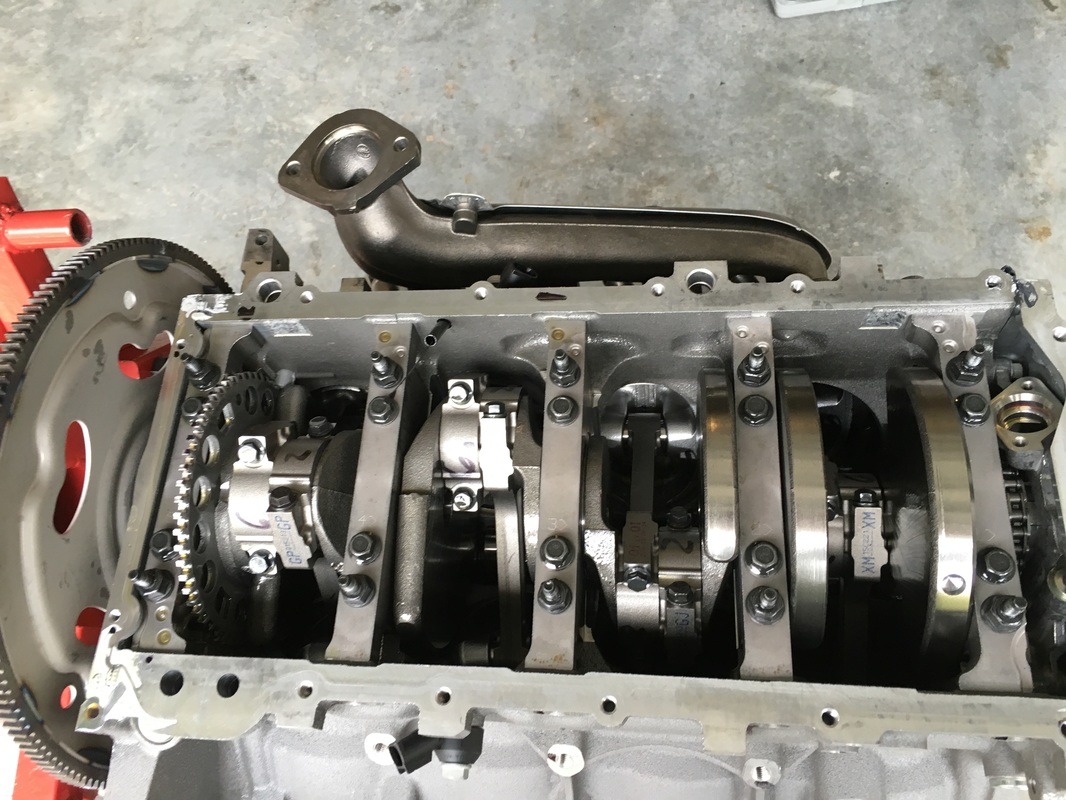
Well.... we finally did it! Turns out some more fabrication was in order due to my car having the newer transmission (which translates to larger) and required some special cutting and welding to accommodate it going into place behind the LS3. This will be a short update with just a couple of photos of the final installation and the engine fully supported on its own! No more engine lifts in the photos - YES!!! It's hard to see in this photo, but the oil pan and transaxle are fully above the the new engine cradle and frame rails - this menagerie of frames, braces, links and struts has to be assembled around the engine as it hovers in the space supported by a lift table.... whew Next are several photos of the transaxle mounts we had to fabricate - you'll notice it is the stock mounts cut and sectioned which we added a one inch thick wall pipe enabling them to be rewelded with both an offset to the rear of inch along with lowering the geometry Here's a couple of views from the top followed by photos of the front of the engine in its new "ride along with you in the cabin" position (lol) Next it is onto a ton of plumbing and wiring and computer programming to do - sure would like to drive it onto the field at Oktoberfest rather than trailer it:-)
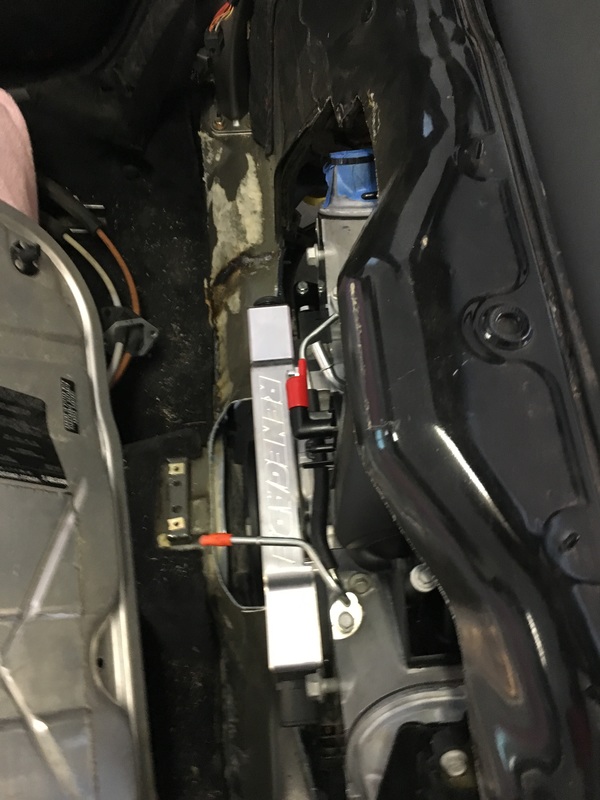
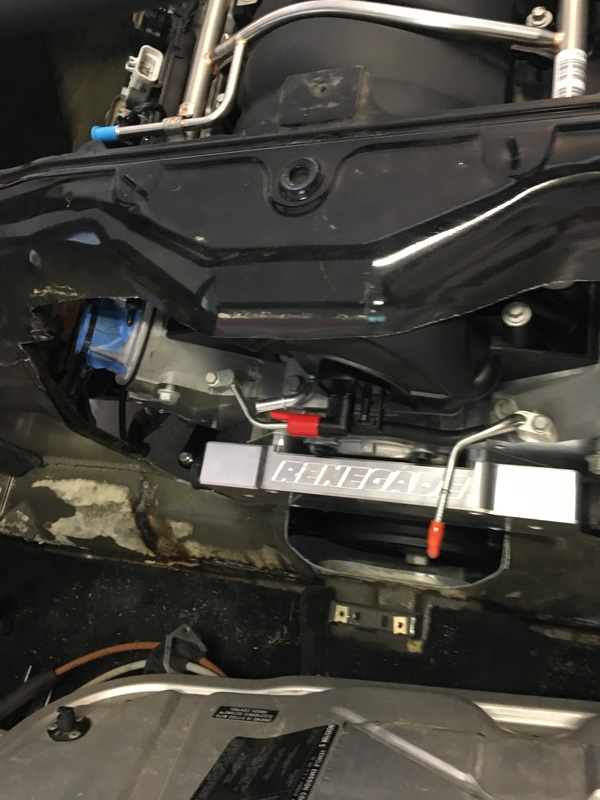
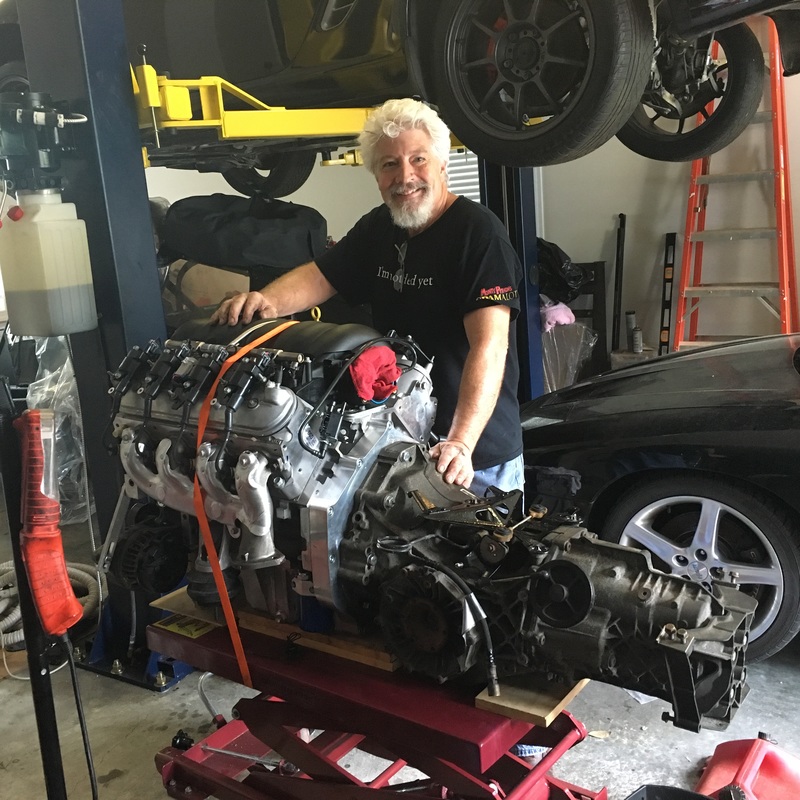
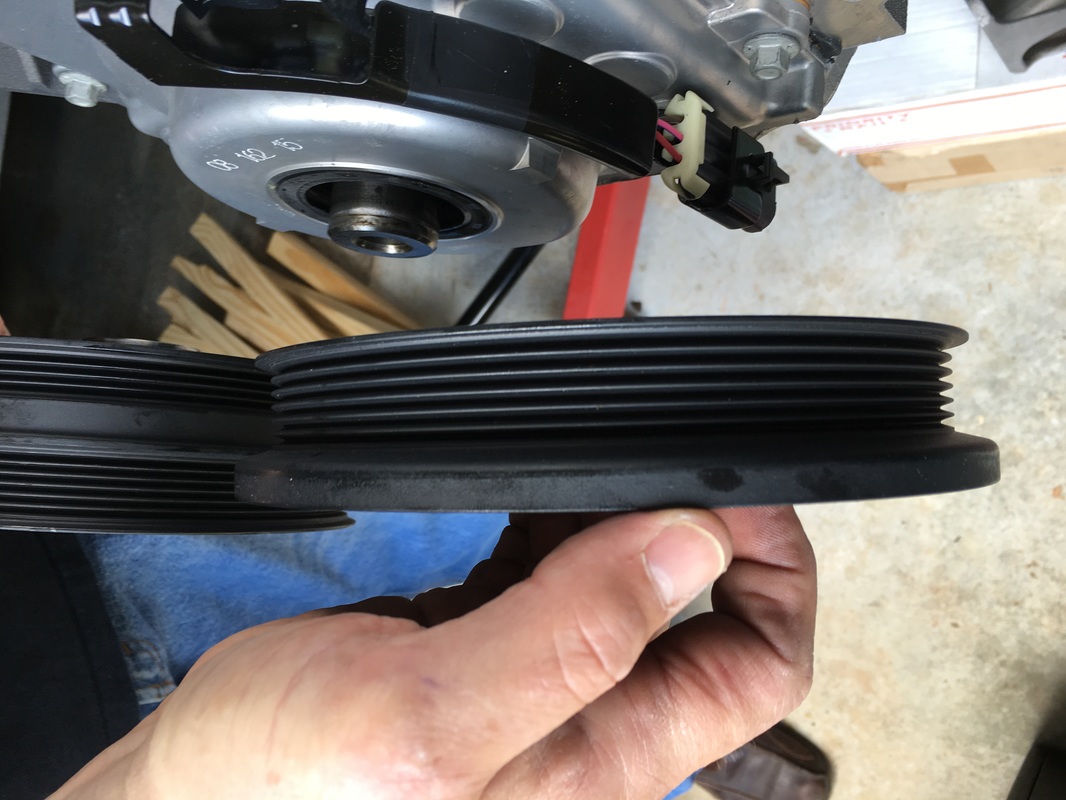
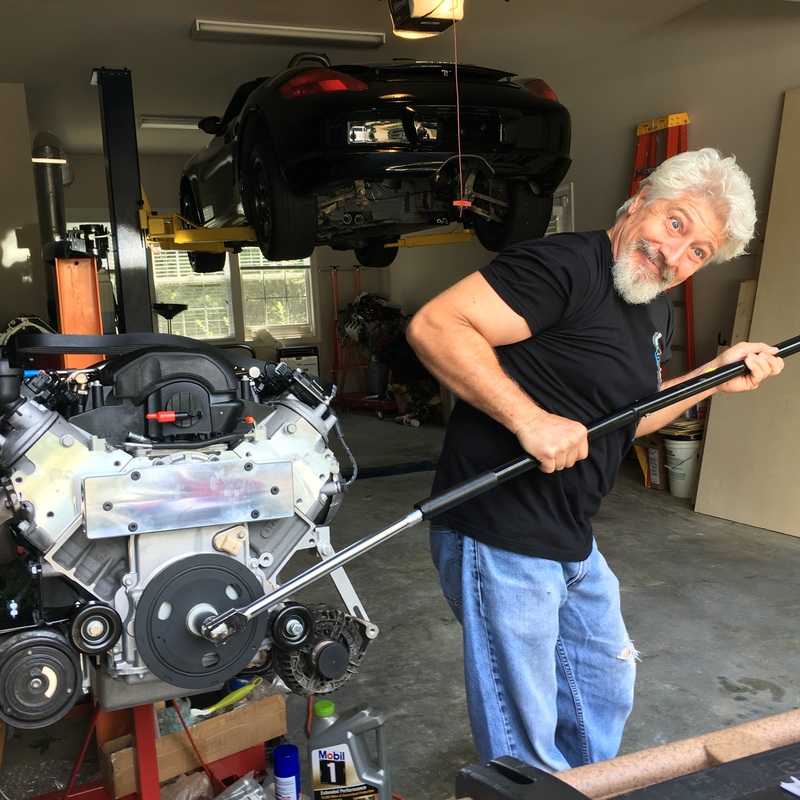
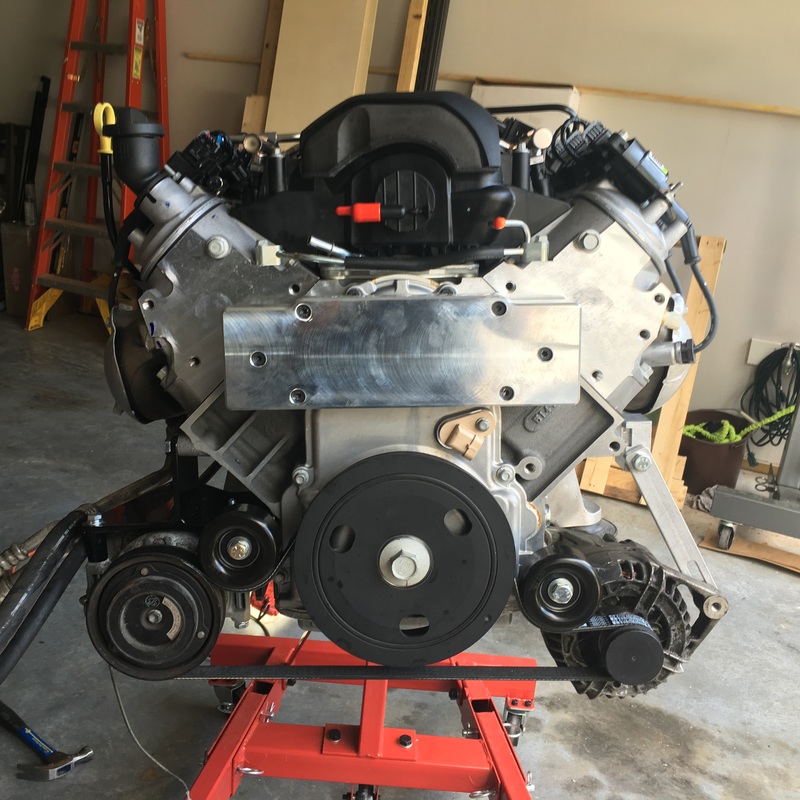
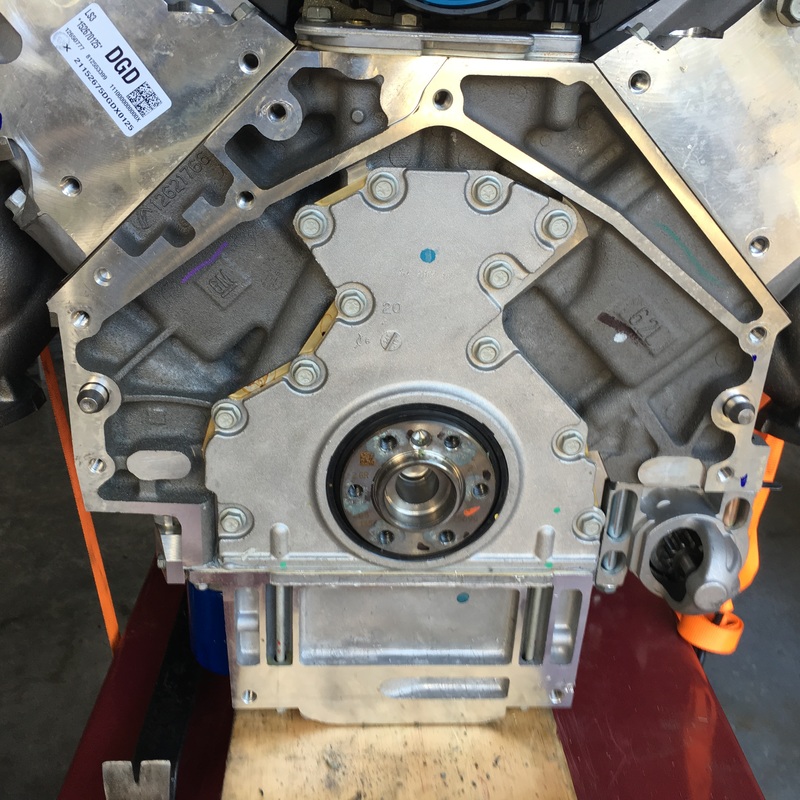
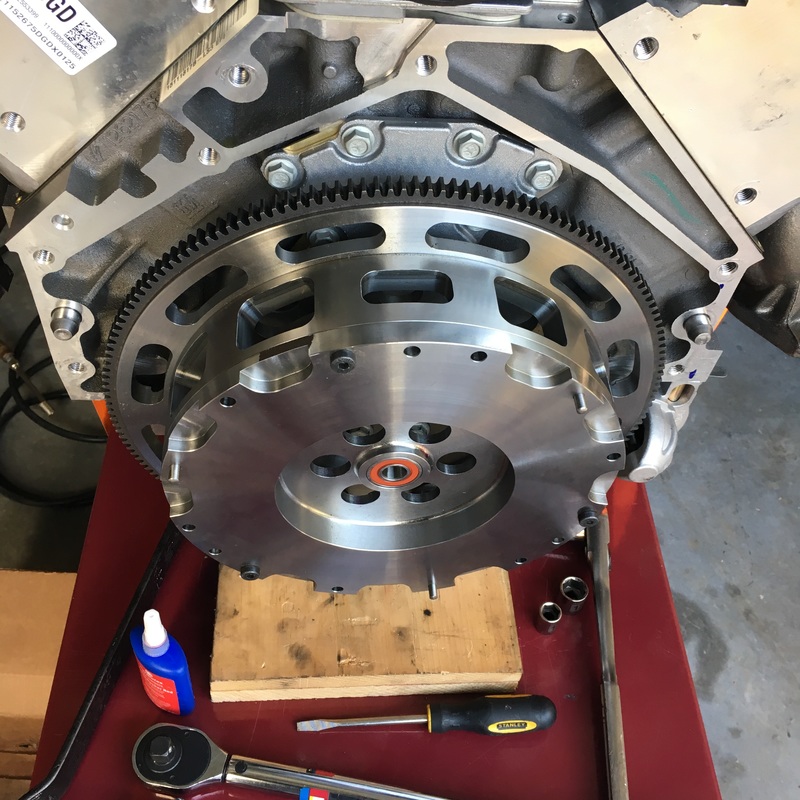
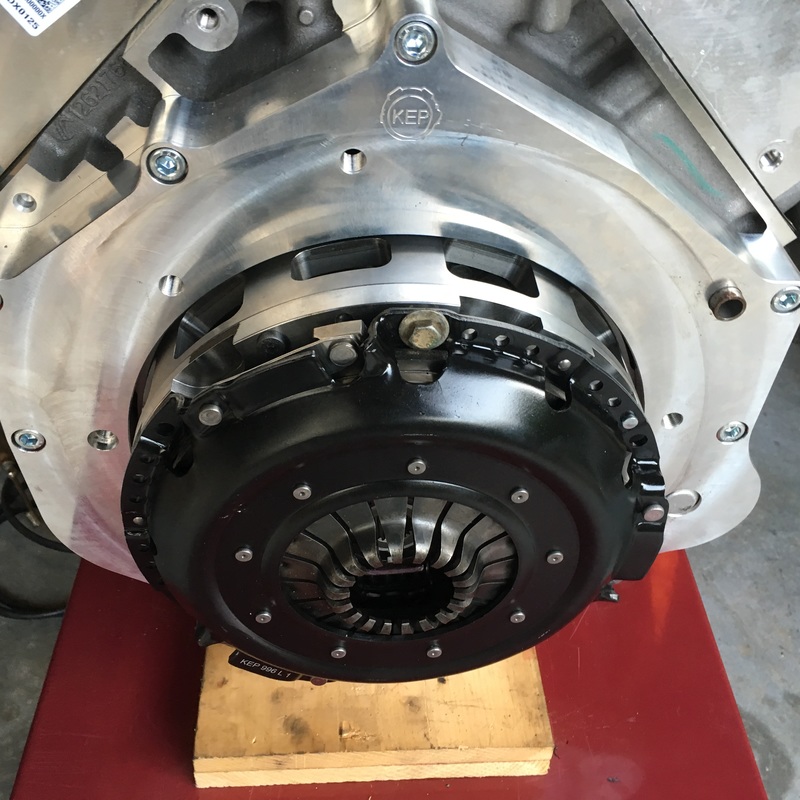
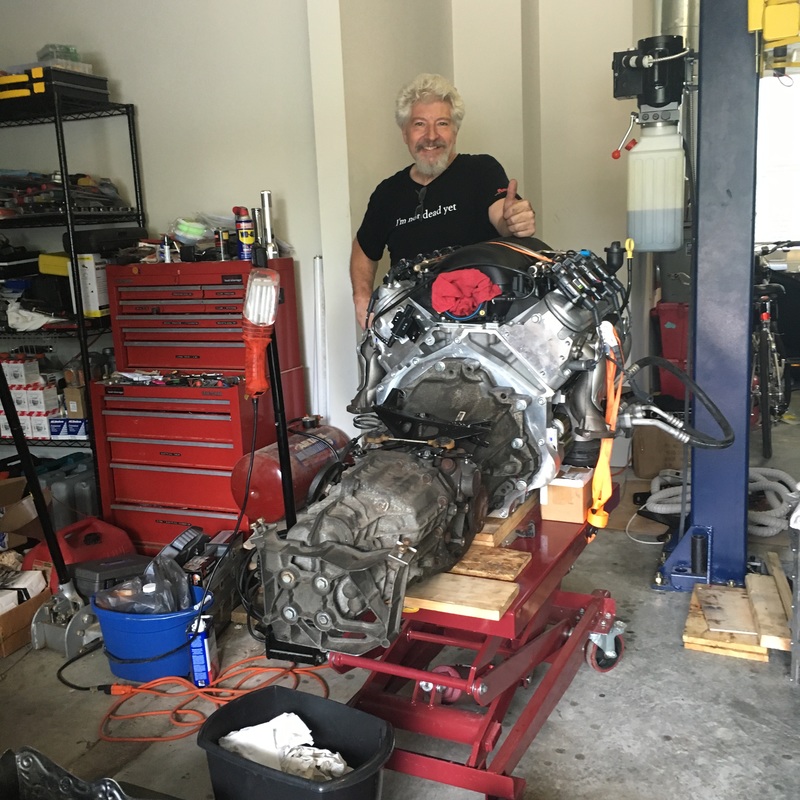
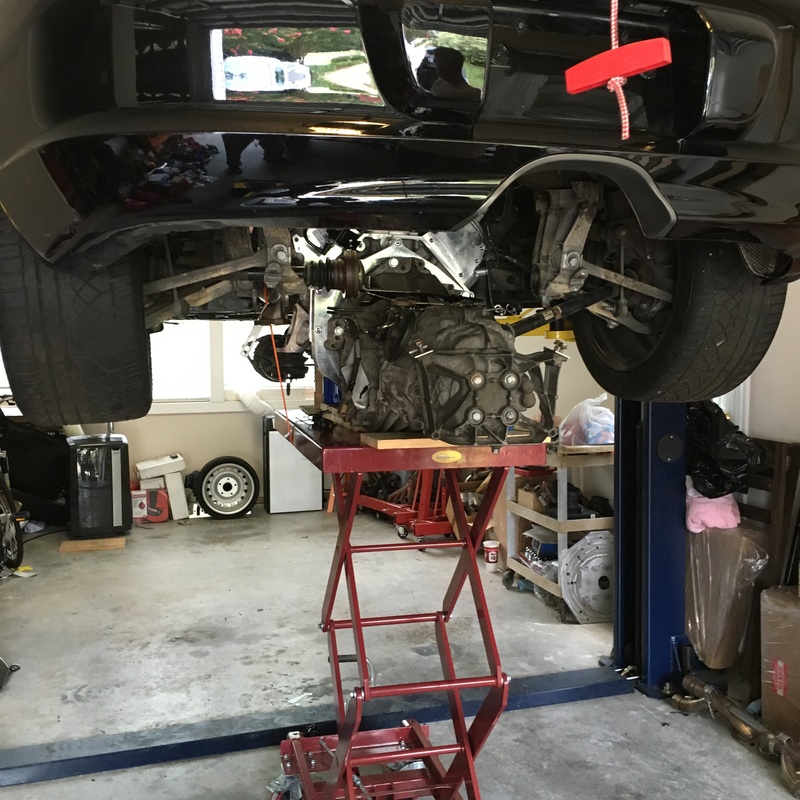
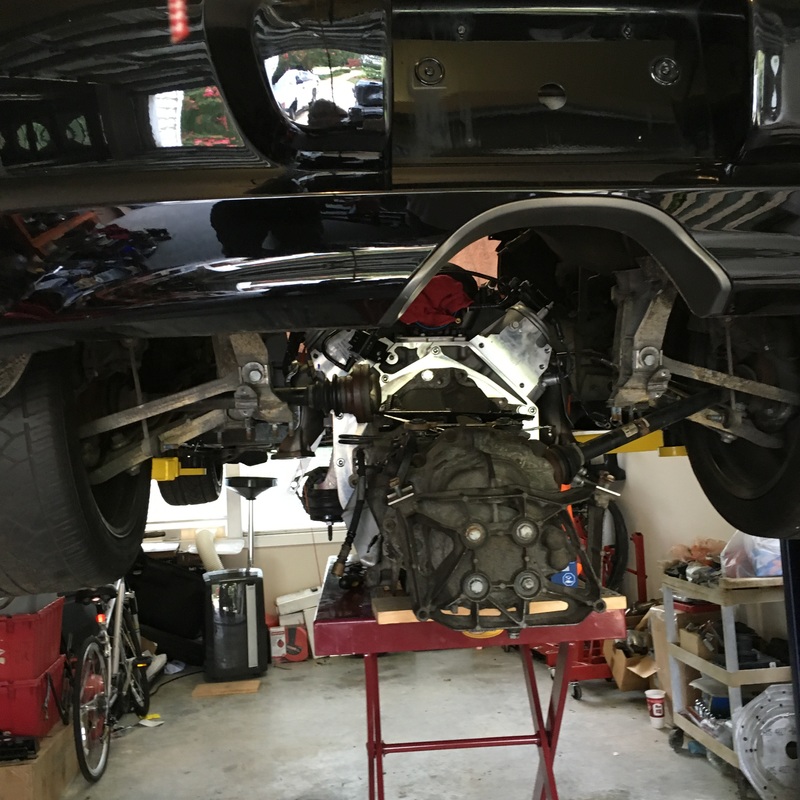
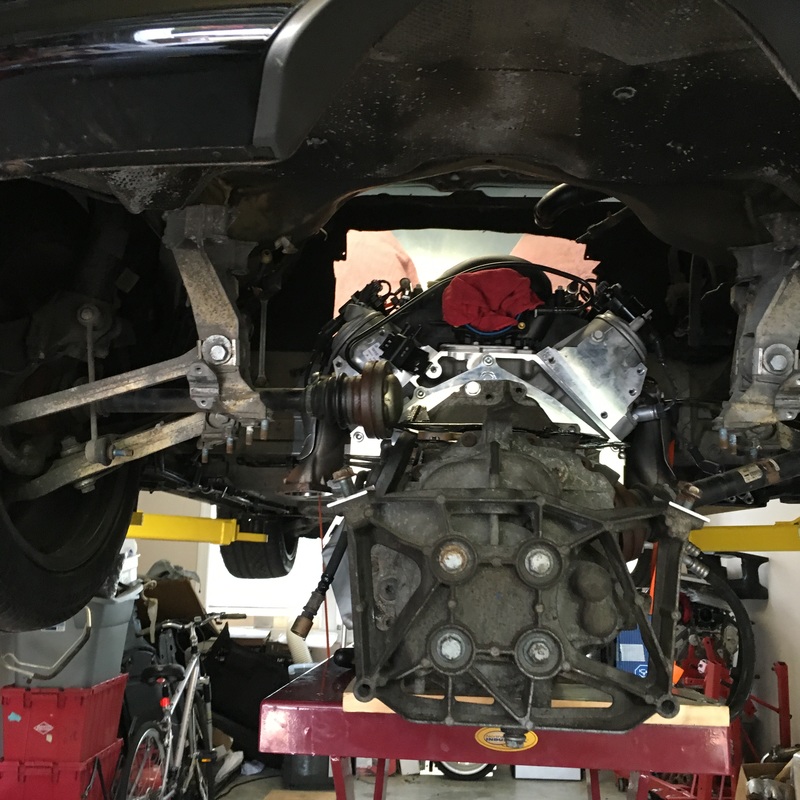
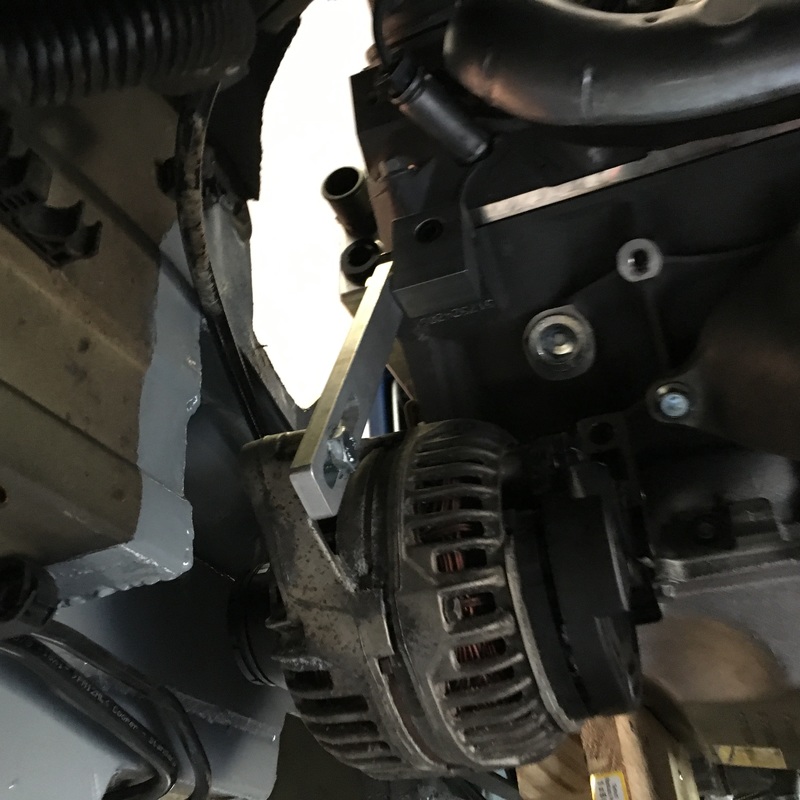
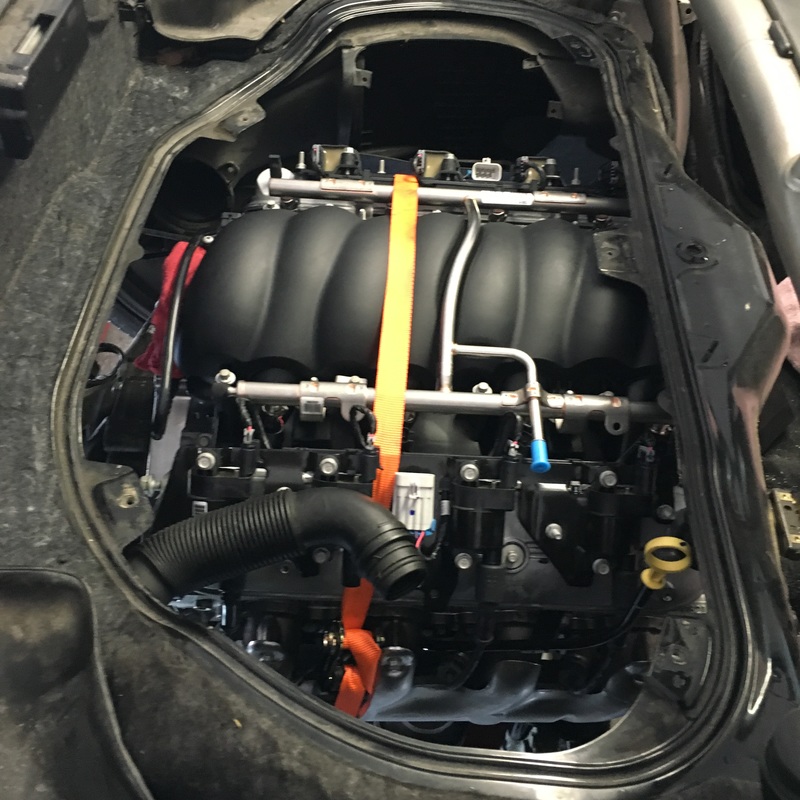
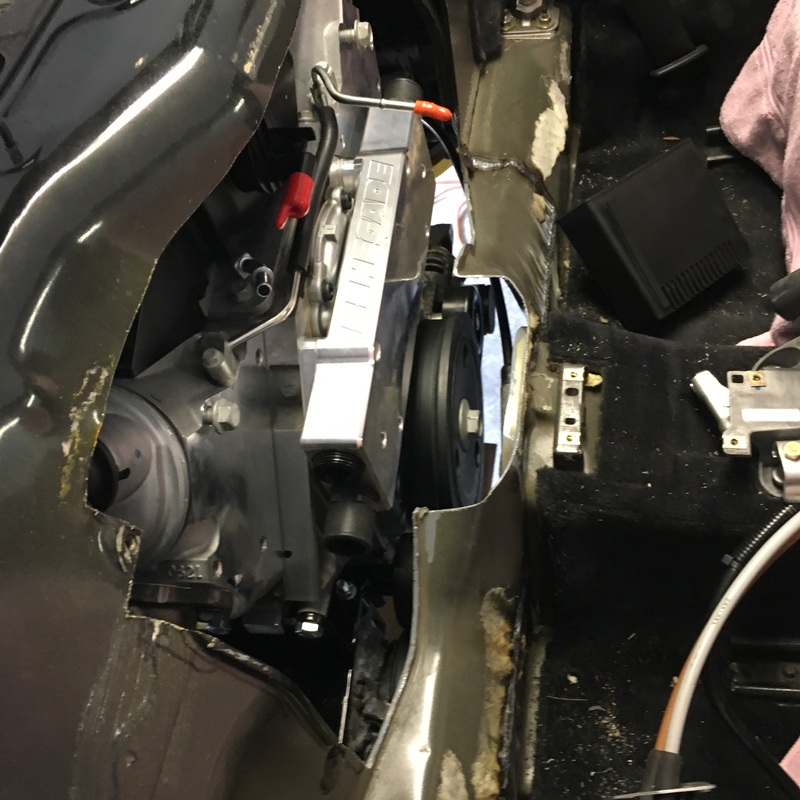
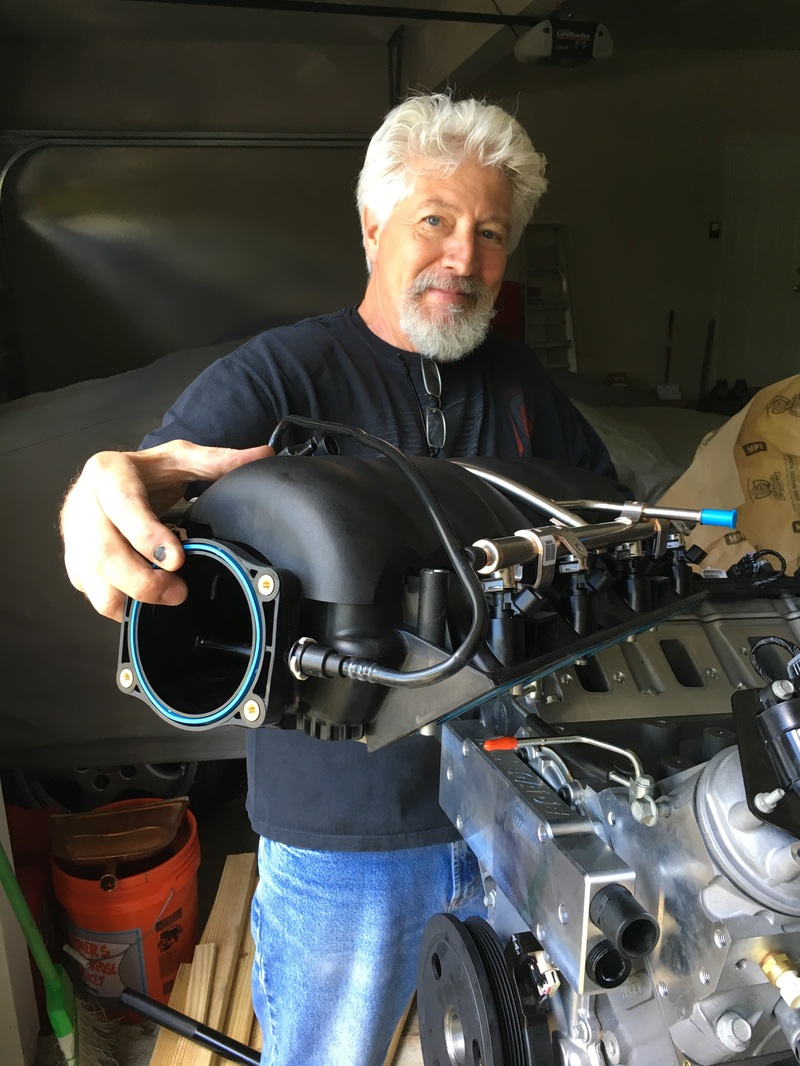
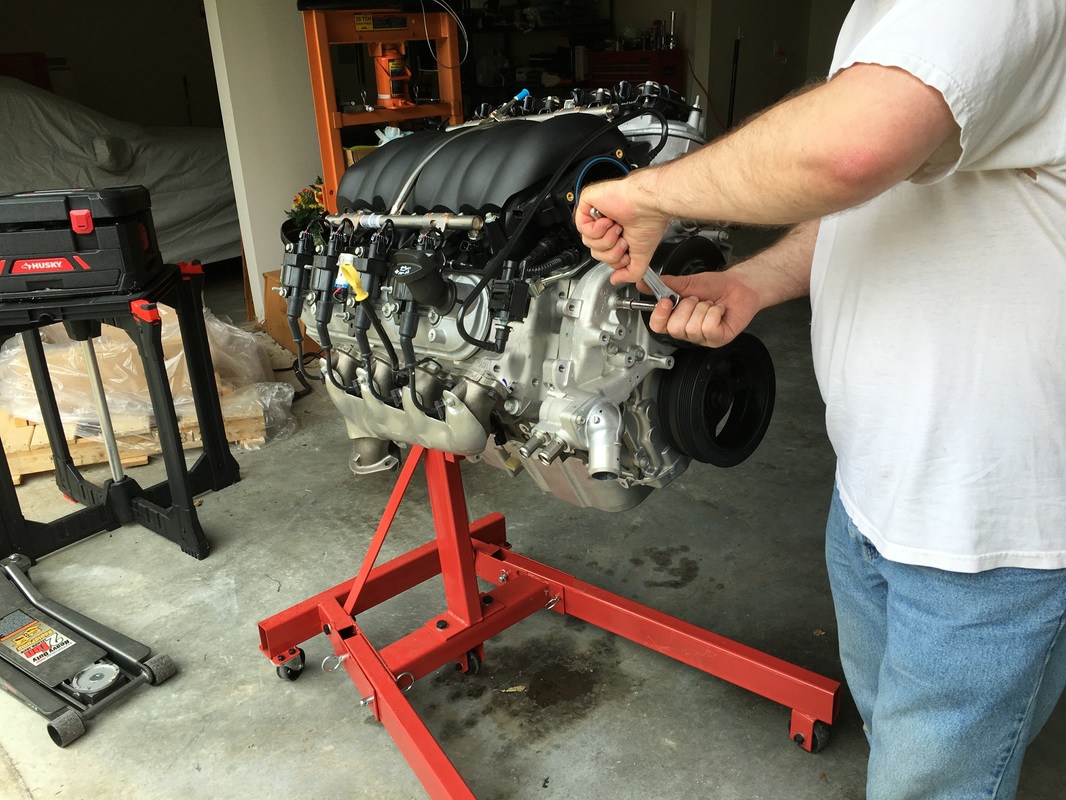
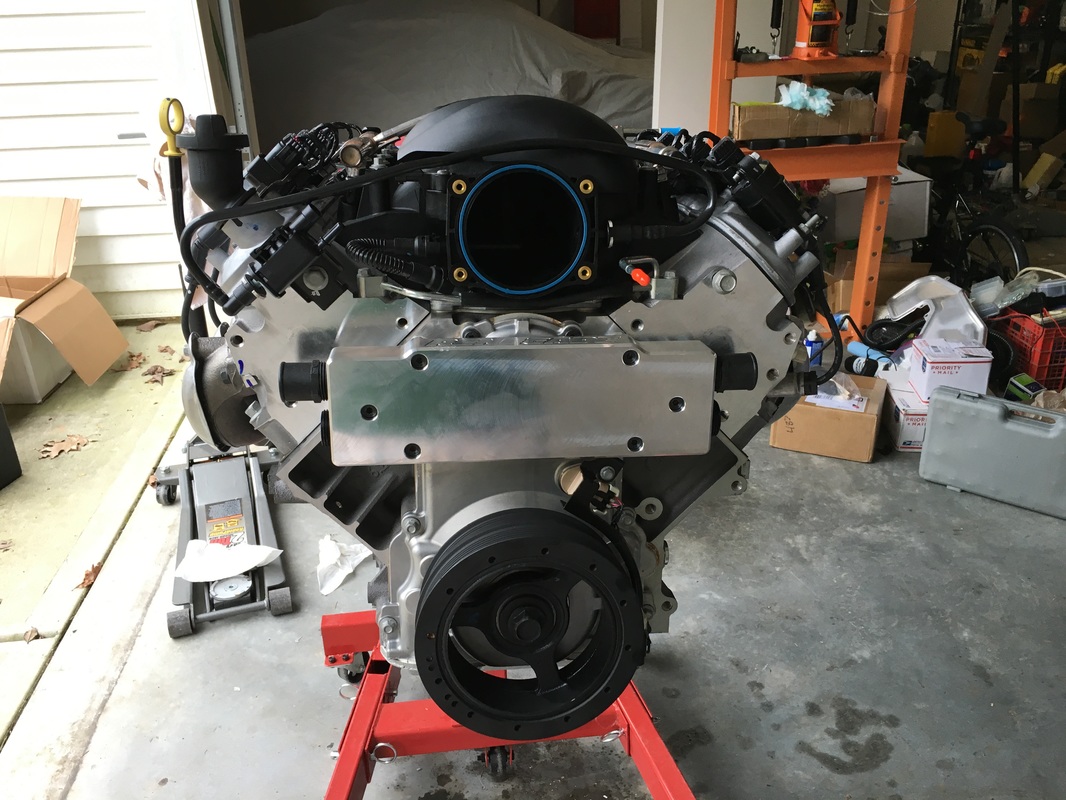
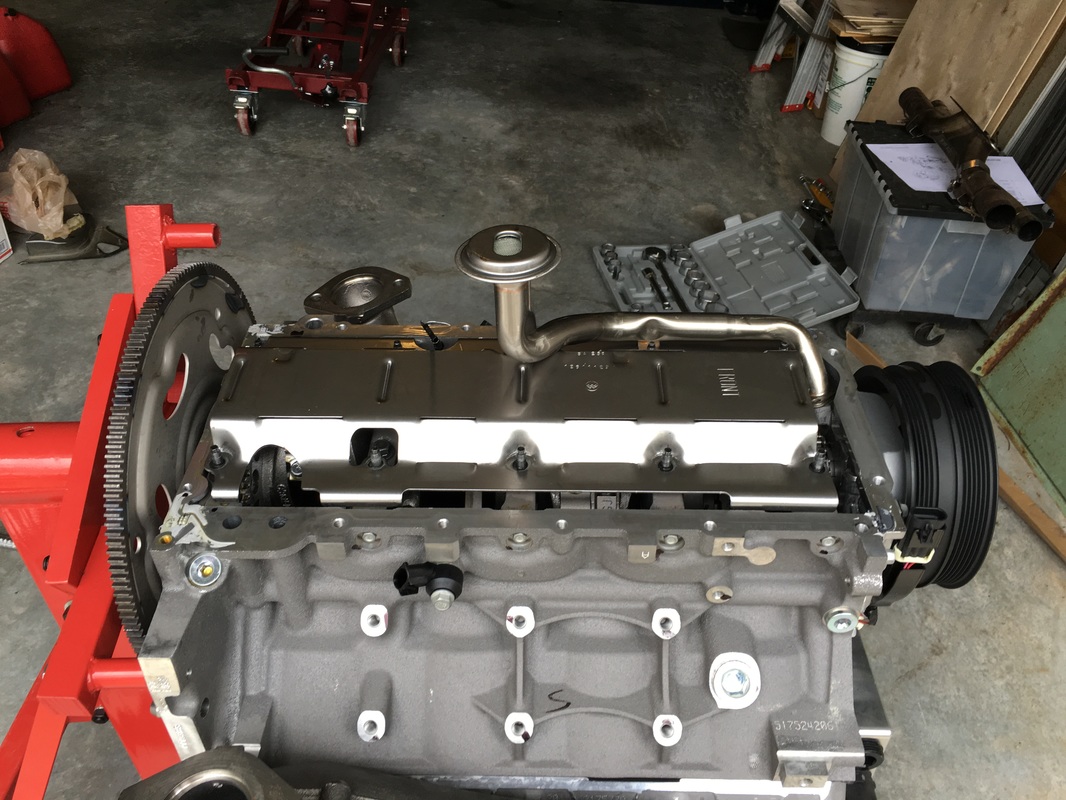
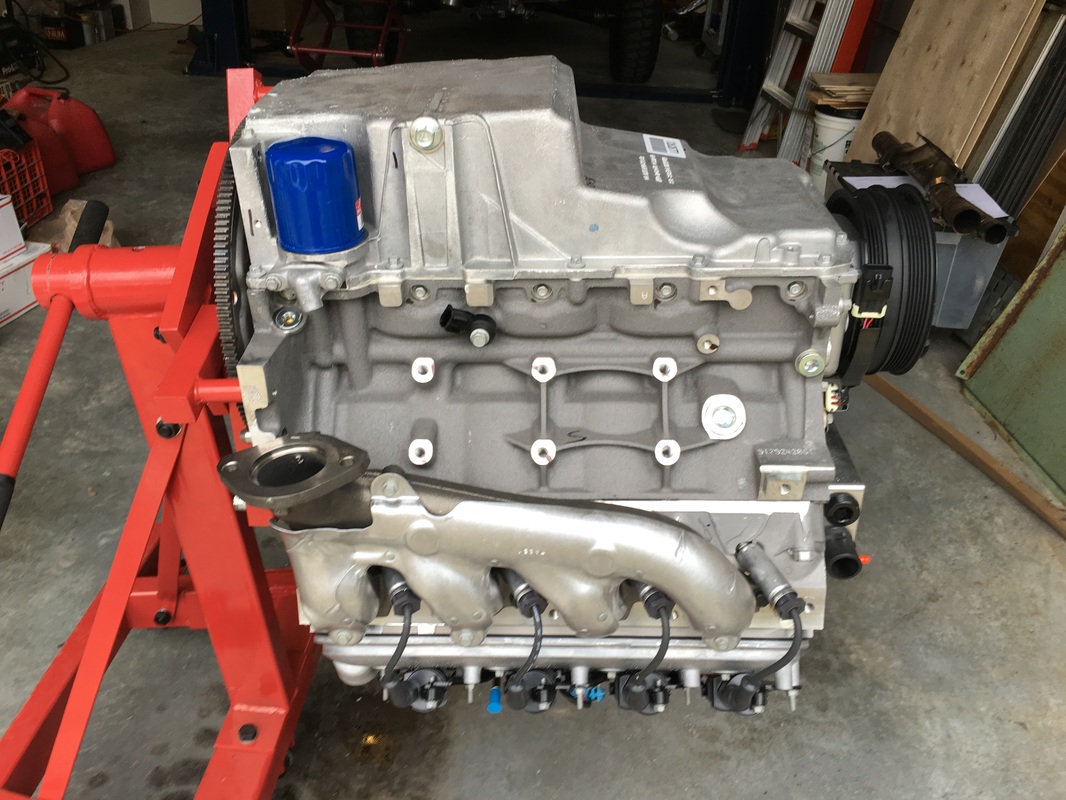
Sty tuned and check back for updates soon!!! Thanks, Doug Well.... finally.... all the engine modifications have been made (extensive) and it's time to put it in the engine bay! But first - a little about that process. The right way to get a Boxster's engine in or out is with a lift table combined with a car lift (regardless of what engine is in the car:-) And it's a tricky operation with combinations of lift tabling up and car lift lowering... and twisting and shoving and lots of odds and ends to maneuver around while hooking up other plumbing and electrical that can only be reached at certain moments in the transition upward - ugh! BUT before we get to there... we have to finish dressing the motor up with a new slimmer crank pulley, add the the alternator and AC compressor and of course install the clutch and transaxle! Here's the slimmer pulley we're going to install compared to the stock Corvette pulley And here's the installation process... the bolt is a one time use bolt that is torqued to 100 ft/lbs and then continued to rotate for 240 degrees - you can do this! This bolt is stretch set rather than ft/lbs Here's the front of the engine with the two accessories (that's all that will fit) and belt in place. Now to the opposite end of the engine... the flywheel first. Here's photos of it going on Now the adapter plate & clutch - it's a stage 1 high performance clutch rated for 650 horsepower Sooooo... here we go! The the fully dressed drivetrain goes on the lift table and rolled under the car (which is up on lift) Now the tricky stuff... lowering the car while lifting the table and wiggle, twist, shout, cuss.... Here's the front of the engine; very close to the firewall we cut out & moved several inches forward FINALLY! a view from the top with the engine in place Here's a view of how much engine comes into the passenger compartment to ride with you:-) In case you were wondering... here's a photo of the cradle that will hold the motor mounts as well keep the car's unibody from racking (hopefully) under all that torque and horsepower! So that's it for this installment of the Blog... and of course I had to take the engine back out as the transaxle mounts would not line up - so back to the fabrication drawing board & try it again!!!!! Thanks for visiting and reading.... and keep checking back as there will be MORE!
|
AuthorDoug Behning Archives
January 2019
Categories |


 RSS Feed

